Wednesday, November 20, 2024
DIY Wooden Magazine Racks for Displaying Magazines and Newspapers

DIY Wooden Magazine Racks for Displaying Magazines and Newspapers
Tired of magazines and newspapers cluttering your living room? Want to add a touch of rustic charm to your home decor? Look no further than a DIY wooden magazine rack! These versatile creations provide a stylish and functional way to organize your reading materials while adding a unique aesthetic to any space.
Crafting a magazine rack is a rewarding and surprisingly simple project, even for novice woodworkers. With readily available materials and basic tools, you can easily create a magazine rack that suits your personal style and budget. Let's dive into the exciting world of DIY magazine racks and explore the possibilities!
Choosing Your Wood and Design
The first step is selecting the right wood for your magazine rack. Pine is a popular choice due to its affordability and ease of workability. However, if you're aiming for a more robust and rustic look, consider hardwood options like oak or walnut. These woods offer durability and a rich, natural grain pattern.
Design Inspiration
Think about the overall style of your home and choose a design that complements your existing decor. Consider these options:
- Simple and Sleek: A minimalist design with clean lines and a focus on functionality.
- Rustic Charm: Embrace the natural beauty of wood with a distressed or weathered finish.
- Modern Elegance: Opt for bold geometric shapes and a sleek, contemporary aesthetic.
Gathering Your Materials and Tools
Before you start building, gather the following materials:
- Wood of your choice (pine, oak, walnut, etc.)
- Wood glue
- Wood screws or nails
- Sandpaper (various grits)
- Wood stain or paint (optional)
- Measuring tape
- Saw (hand saw, circular saw, or jigsaw)
- Drill
- Clamps
- Safety glasses and gloves
Building Your Magazine Rack
Now, let's get to the fun part - building your magazine rack! Follow these steps:
- Measure and Cut: Determine the size and shape of your magazine rack and carefully measure and cut the wood accordingly. Be sure to consider the dimensions of the magazines and newspapers you'll be storing.
- Assemble the Base: Depending on your design, you might need to assemble the base of the rack first. Use wood glue and screws or nails to join the pieces together. Clamp the joints in place until the glue dries completely.
- Create the Shelves: Cut the wood for the shelves to the desired length and width. Use screws or nails to secure the shelves to the base, making sure they are evenly spaced.
- Add Finishing Touches: Sand the entire magazine rack with progressively finer grits of sandpaper for a smooth finish. Apply wood stain or paint if desired.
Finishing Touches and Ideas
Once your magazine rack is built, personalize it with decorative accents or add a few unique features:
- Distressed Finish: Achieve a vintage look by sanding down the edges and corners of the wood for a weathered effect.
- Personalized Label: Create a custom label for your magazine rack using woodburning or vinyl lettering.
- Wheels: Add wheels to your rack for easy mobility around the room.
- Floating Shelves: For a modern look, create a floating magazine rack with hidden brackets or supports.
Enjoy Your DIY Magazine Rack
Congratulations! You've successfully created a beautiful and functional magazine rack to keep your reading materials organized and stylishly displayed. Your creation adds a touch of warmth and personality to your home, while simultaneously keeping clutter at bay. So, go ahead and fill your new magazine rack with your favorite publications, and enjoy the satisfaction of a well-crafted DIY project.
Rustic Wine Rack Ideas for a Farmhouse Touch

Rustic Wine Rack Ideas for a Farmhouse Touch: Elevate Your Wine Collection
Are you looking to add a touch of rustic charm to your home while showcasing your beloved wine collection? Look no further! A farmhouse-style wine rack can be the perfect addition to your kitchen, dining room, or even your living room. Not only will it provide a functional space to store your wines, but it will also add a warm and inviting ambiance to your space.
The best part? You don't have to spend a fortune on fancy, pre-made wine racks. With a little creativity and some DIY skills, you can create a rustic wine rack that perfectly complements your farmhouse decor.
So, grab your tools, gather your materials, and let's dive into some rustic wine rack ideas that will make your home feel like a cozy cabin in the woods.
Reclaimed Wood Wine Rack: A Touch of History
There's something about reclaimed wood that just screams "farmhouse." The weathered look and unique grain patterns add character and warmth to any space. You can find reclaimed wood at antique shops, salvage yards, or even in your own backyard (if you're lucky!).
Simple yet Elegant:
A simple design using reclaimed wood planks can be surprisingly stylish. Just create a series of horizontal shelves with angled supports. You can even add a rustic touch by using rough-cut wood and leaving the edges unfinished.
Creative Storage Solutions:
Think outside the box! Use reclaimed wood to create a wine rack with integrated shelves for glasses or even a small space for storing your favorite corkscrew. You can also combine reclaimed wood with other materials like metal or glass to create a unique and functional piece.
Pallet Wine Rack: Repurposing for Style
Pallet wood is another popular material for rustic projects, and for good reason! It's readily available, affordable, and has a beautiful, weathered look. Plus, repurposing pallets is a great way to be eco-friendly.
Vertical Wine Storage:
Create a vertical wine rack by attaching pallet planks to the wall. This is a space-saving option that adds a touch of industrial farmhouse style. You can even leave the pallet's original markings for a more rustic look.
Rustic Wine Display:
Use pallet wood to create a free-standing wine rack that doubles as a decorative centerpiece. You can add a few hooks or shelves to showcase your wine bottles and glasses.
Metal Wine Rack: Modern Farmhouse Style
Metal wine racks offer a modern farmhouse touch. They're sturdy, durable, and come in a variety of styles. You can choose from wrought iron, steel, or even copper, depending on your aesthetic preference.
Industrial Chic:
A simple metal wine rack with a black or distressed finish can create an industrial chic look. Look for racks with geometric shapes or bold lines. You can pair it with reclaimed wood shelves or a metal bar cart for a cohesive look.
Rustic Elegance:
Copper or brushed brass wine racks offer a touch of rustic elegance. These materials have a warm, natural look that complements farmhouse decor. You can pair them with wood or stone accents for a sophisticated touch.
DIY Wine Rack Ideas for the Creative Soul
Are you feeling adventurous? Embrace your creativity and design your own rustic wine rack!
Branch Wine Rack:
Gather fallen branches from your yard or a nearby forest and use them to create a unique wine rack. Arrange the branches in a visually appealing pattern and attach them to a piece of wood or metal for support.
Ladder Wine Rack:
Repurpose an old ladder into a stylish wine rack. Simply remove the rungs and replace them with shelves or hooks for holding wine bottles. You can paint the ladder or leave it in its natural wood finish.
Barrel Wine Rack:
If you're looking for a truly rustic statement piece, consider using a wine barrel. You can use the barrel as a freestanding rack or create a table top rack by cutting it in half. Add a few shelves or hooks for additional storage.
Styling Your Rustic Wine Rack
Once you've created your rustic wine rack, it's time to style it! Here are some ideas:
Remember, the key is to create a space that reflects your personal style and creates a warm and inviting atmosphere.
Frequently Asked Questions (FAQs)
What are some tips for choosing the right wine rack?
Consider the size and shape of your space, the amount of wine you need to store, and your personal style. Also, think about whether you want a freestanding or wall-mounted rack.
How can I create a rustic look on a budget?
Repurpose materials like pallets, ladders, or old crates. You can also use inexpensive materials like branches, rope, or even vintage metal pieces.
What are some other ways to incorporate farmhouse style into my home?
Consider adding farmhouse-inspired elements like:
Embrace the charm of the farmhouse aesthetic and have fun creating a space that's both beautiful and functional. Cheers to creating a home you love!
Monday, November 18, 2024
How to Build a Spa-Like Bath Tray for Extra Income

Build a Spa-Like Bath Tray for Extra Income
Imagine this: you're soaking in a warm bath, surrounded by candles and your favorite book. Your glass of wine is close at hand, and your phone is securely resting nearby, ready to play your favorite playlist. All this luxury, within reach thanks to a custom-built bath tray you've designed and crafted. Not only will you enjoy the benefits of this relaxing sanctuary, but you can also turn your passion into profit by selling your creations to others.
Building a spa-like bath tray is a fantastic way to add an extra stream of income. It's a project that combines creativity with practical skills, and you can tailor your designs to meet the specific needs and tastes of your customers. This article will guide you through the process of creating a beautiful and functional bath tray that will attract buyers and bring a touch of luxury to their bathroom routine.
Choosing Your Materials
The key to building a successful bath tray lies in choosing the right materials. Your selection will impact both the aesthetics and durability of your final product. You need a material that is waterproof, easy to clean, and strong enough to support the weight of your bath essentials.
Wood Options:
Other Materials:
Designing Your Bath Tray
The design of your bath tray is where you can truly express your creativity. Consider the following aspects:
Size and Shape:
Features:
Building Your Bath Tray
Once you've selected your materials and finalized the design, it's time to build your bath tray. Here are some general steps to follow, which may vary depending on the materials you choose:
Cutting and Shaping:
Assembling the Base:
Adding Features:
Finishing Touches:
Marketing Your Bath Trays
With your bath trays ready, it's time to showcase your creations and attract customers. Here are some strategies to market your products:
Social Media:
Online Marketplaces:
Local Craft Fairs:
Conclusion
Building and selling spa-like bath trays can be a rewarding and profitable endeavor. With the right combination of materials, design, and marketing strategies, you can turn your passion into a successful side hustle. Start crafting your bath tray today and bring a touch of luxury and relaxation to your customers' bathrooms.
Sunday, November 10, 2024
Crafting a handmade gun cabinet with premium wood

Crafting a Handmade Gun Cabinet with Premium Wood
A handmade gun cabinet is more than just a storage solution; it's a statement piece, a testament to craftsmanship, and a symbol of pride in your collection. Creating such a cabinet with premium wood elevates it to a level of artistry, transforming it into a cherished heirloom that will endure for generations. This article will guide you through the process of crafting a handmade gun cabinet, highlighting the importance of meticulous planning, quality materials, and skilled execution.
Design and Planning: The Foundation of Excellence
Before embarking on the construction process, a well-defined plan is essential. This includes:
Determining the Scope
Consider the size and layout of the cabinet. Factors to consider include:
- Number of guns to store: Determine the appropriate number of shelves, drawers, and compartments based on the size of your collection.
- Dimensions and placement: Carefully measure the space where the cabinet will reside to ensure it fits seamlessly and provides ample clearance for doors and drawers.
- Style and design: Choose a style that complements your home décor. Options range from traditional and classic to modern and minimalist. Consider incorporating decorative elements like molding, carvings, or hardware.
Material Selection: The Heart of the Cabinet
Premium wood is crucial for a handmade gun cabinet. It lends a sense of permanence and elegance while offering excellent durability. Popular choices include:
- Walnut: Renowned for its rich color, beautiful grain patterns, and exceptional strength, walnut is a timeless choice.
- Cherry: Known for its warm reddish-brown tones, cherry wood ages gracefully and develops a rich patina over time.
- Mahogany: With its deep red hues and distinctive grain patterns, mahogany offers a luxurious and sophisticated aesthetic.
- Oak: A durable and sturdy wood, oak provides a classic look and a substantial feel.
When selecting wood, prioritize:
- Quality: Choose wood free from knots, cracks, and other defects. Seek out well-seasoned and kiln-dried lumber for optimal stability.
- Thickness: Utilize appropriate thicknesses for structural integrity and to ensure that shelves and doors can support the weight of the firearms.
- Matching grain: When creating panels and surfaces, choose wood with consistent grain patterns to enhance the visual appeal.
Construction Drawings and Templates
Create detailed drawings and templates for each component of the cabinet. This will ensure precise cutting, assembly, and a flawlessly aligned final product. Use drafting software or a combination of paper and pencil to capture the design details.
Construction: The Art of Craftsmanship
With meticulous planning in place, you can embark on the construction process. This involves a series of steps:
Cutting and Shaping
Use a table saw, miter saw, and band saw to accurately cut the wood according to your drawings. Achieve precise cuts and smooth edges for professional results. Invest in quality tools and blades for optimal performance.
Joinery: The Foundation of Strength
Joinery techniques are essential for building a durable and sturdy cabinet. Explore a range of options, including:
- Dovetail joints: Traditional and intricate, dovetail joints provide superior strength and a visually appealing detail.
- Mortise and tenon joints: Strong and versatile, mortise and tenon joints create a robust connection.
- Pocket holes: A modern technique that offers fast and strong joints using specialized tools.
Assembly and Glue-Up
Precisely assemble the cabinet components using a combination of glue, screws, and dowels. Ensure surfaces are clean and apply glue evenly for strong bonds. Use clamps to secure the pieces together and allow the glue to dry completely.
Finishing: Enhancing the Beauty
After assembly, the finishing touches are what truly elevate the cabinet. This involves:
- Sanding: Smooth out the surfaces using progressively finer grades of sandpaper. Begin with coarse grits to remove rough edges and then transition to finer grits for a smooth and polished finish.
- Staining: Apply a stain to enhance the natural beauty of the wood and create a desired color. Choose a stain that complements the wood species and the overall design.
- Topcoat: Apply a topcoat, such as polyurethane or varnish, to protect the wood and enhance its durability. Multiple thin coats are generally preferable to one thick coat. Allow each coat to dry thoroughly before applying the next.
Hardware and Accessories: Enhancing Functionality
Complete the cabinet with high-quality hardware and accessories:
- Hinges: Choose sturdy hinges for the doors that are durable and resistant to wear and tear.
- Locks and latches: Secure your firearms with reliable locks and latches for maximum safety.
- Shelves and drawers: Install adjustable shelves and drawers for maximum versatility and organization.
- Lighting: Consider adding internal lighting to make it easier to access your firearms.
Safety Considerations: Protecting Your Collection and Your Home
A handmade gun cabinet is not only a display of craftsmanship but also a vital safety measure. Remember:
- Secure locks: Invest in locks that are resistant to tampering and provide robust security.
- Fireproof material: Consider using fire-resistant materials within the cabinet to protect firearms from heat damage.
- Storage procedures: Follow safe storage practices, including securely storing firearms and ammunition separately.
- Childproofing: Ensure the cabinet is equipped with childproof locks and stored in an area inaccessible to children.
Beyond the Basics: Adding Personal Touches
While the construction itself is essential, adding personal touches distinguishes your handmade cabinet. Consider:
- Personalized engravings: Incorporate your initials, a family crest, or a meaningful inscription to create a unique heirloom.
- Inlay work: Add accents of contrasting wood or other materials like metal or bone for intricate design details.
- Hand-painted designs: Enhance the cabinet with hand-painted motifs, landscapes, or abstract art for a unique look.
Conclusion: A Legacy of Craftsmanship
Crafting a handmade gun cabinet with premium wood is a rewarding endeavor. It combines meticulous planning, skilled execution, and personal touches to create a masterpiece. The process not only results in a functional and secure storage solution but also a cherished heirloom that will be passed down through generations, showcasing the artistry and dedication of the craftsman.
How to design an in-wall gun cabinet for maximum storage efficiency

Maximize Your Gun Storage with a Custom In-Wall Cabinet
A well-designed in-wall gun cabinet offers the ultimate combination of security, accessibility, and space-saving efficiency. It seamlessly integrates with your home's interior, keeping your firearms secure while freeing up valuable floor space. Let's explore the design elements to maximize storage efficiency and create a safe and functional gun storage solution.
Planning Your In-Wall Gun Cabinet
Before you start building, carefully plan your in-wall gun cabinet's layout. Consider the size and number of firearms you need to store, the available wall space, and the accessibility you desire. Remember, building codes might restrict the placement of gun safes, so check local ordinances before proceeding.
Evaluate Your Gun Collection
Start by taking inventory of your firearms. Note their length, width, and any unique features. This will help you determine the dimensions of your cabinet and the types of storage solutions you'll need.
Choose the Right Location
Select a location that offers enough wall space for your cabinet's dimensions and is easily accessible. Avoid areas with high moisture levels or extreme temperature fluctuations that could affect your firearms.
Consider Accessibility
Determine how you'll access your firearms. Will you need quick access for home defense, or are you primarily concerned with long-term storage? Decide if you want a single door or multiple smaller doors for easier access to specific firearms.
Maximizing Storage Efficiency
An in-wall gun cabinet provides a unique opportunity to optimize storage. Design features like adjustable shelves, dividers, and specialized racks can transform your cabinet into a highly efficient and organized firearm storage system.
Adjustable Shelves
Adjustable shelves offer flexibility to accommodate firearms of varying sizes. Choose shelves made of durable materials like steel or wood. Consider incorporating shelves with specialized features like locking mechanisms or built-in storage for ammunition.
Dividers
Use dividers to separate different types of firearms or accessories within your cabinet. This allows you to quickly find what you're looking for and keeps your collection organized.
Specialized Racks
For long guns, consider using dedicated racks that hold firearms vertically. This saves space and allows for easy access. You can also incorporate racks designed for handguns, scopes, and other accessories.
Storage for Accessories
Don't forget to incorporate storage for essential accessories. Dedicate compartments for cleaning kits, ammunition, gun locks, and other necessary items. This ensures your firearms and accessories are kept together and easily accessible.
Security Features for Your In-Wall Cabinet
Security is paramount when designing an in-wall gun cabinet. Consider these features to ensure maximum protection for your firearms:
Robust Construction
Choose a cabinet made of sturdy materials like steel or reinforced concrete. Look for features like solid steel doors and multiple locking points for added security.
Advanced Locking Mechanisms
Invest in high-quality locks with tamper-resistant features. Consider electronic locks with programmable access codes or biometric locks that use fingerprint recognition for enhanced security.
Concealed Hinges
Concealed hinges make it more challenging for potential intruders to pry open the door. These hinges are often incorporated into high-security cabinets.
Fireproof Protection
Protect your firearms from fire damage with a fireproof cabinet. Fireproof cabinets are typically lined with fire-resistant materials that can withstand high temperatures for extended periods.
The Importance of Professional Installation
For the best results and maximum security, consider having your in-wall gun cabinet professionally installed. A qualified contractor can ensure proper installation, secure anchoring, and compliance with building codes.
Maintaining Your In-Wall Gun Cabinet
Regular maintenance ensures your in-wall gun cabinet remains functional and secure for years to come. Regularly clean the cabinet interior and exterior to prevent dust accumulation. Inspect the locking mechanisms and hinges for wear and tear, and replace them as needed.
By following these guidelines, you can design an in-wall gun cabinet that offers both maximum storage efficiency and the highest level of security for your firearms.
How to make a wooden gun cabinet with a sleek modern design

Crafting a Sleek Modern Wooden Gun Cabinet: A DIY Guide
Okay, let's talk about gun cabinets. They're essential for security, but they don't always have to be clunky and outdated. You can build a sleek, modern gun cabinet that's both stylish and practical. Think clean lines, minimal embellishments, and a touch of contemporary flair. Ready to dive in? Let's get started!Planning Your Modern Masterpiece
Before you grab your saw and hammer, let's get organized. It's all about planning and visualizing that final, jaw-dropping result.Size Matters
First things first, how much firepower are you storing? Measure your guns and accessories to figure out the ideal cabinet size. Don't skimp on space. It's better to err on the side of too much than too little. Remember, you want your guns to be properly secured and organized.Sleek and Minimalist
Modern design is all about simplicity and clean lines. Think about a smooth, flat surface, maybe with a touch of a subtle accent like a brushed metal handle or a sleek, flush-mounted lock. Forget the ornate carvings or fussy details â€" we're going for that streamlined, contemporary vibe.Materials That Matter
Choose wood that speaks to your design aesthetic. Solid hardwood like walnut, cherry, or maple will create a timeless and luxurious look. Oak is another great option for durability and that classic, elegant feel. You can also consider plywood for a more budget-friendly option, just be sure to choose a high-quality plywood for strength and durability.Building Your Modern Gun Cabinet
Now that you have your plan, let's start constructing your modern masterpiece!Cut and Join
* **Precise Cuts:** Use a table saw or circular saw to make precise cuts for your cabinet sides, top, bottom, and shelves. Double-check your measurements, and don't be afraid to make a practice cut on scrap wood first to perfect your technique. * **Joinery Magic:** Choose joinery methods that align with your modern aesthetic. Pocket holes are quick and easy, offering sturdy support for your cabinet. Dado joints are another option for a more refined look. If you're feeling adventurous, dovetail joints are a classic choice that adds a touch of craftsmanship.Assembling with Style
* **Secure Construction:** Once your pieces are cut, assemble the cabinet using your chosen joinery method and wood glue. Clamp the pieces together firmly to ensure a tight bond. You can also consider adding screws for extra support, but remember to pre-drill holes to prevent the wood from splitting. * **Back it Up:** Attach a plywood back panel to the cabinet. This adds stability and helps to conceal any imperfections on the back. You can secure the back panel using nails, screws, or a staple gun.Hardware with a Flair
* **Hidden Hinges:** Choose hidden hinges to maintain that sleek, minimalist look. These hinges disappear into the cabinet doors, creating a smooth and seamless surface. * **Flush-Mount Lock:** A flush-mount lock adds a touch of modern elegance while offering excellent security. Choose a lock with a key or combination mechanism that suits your needs. * **Handles with Personality:** Select handles that complement the overall modern design. Brushed nickel or stainless steel handles with clean lines and simple shapes are excellent options. You can even explore handles with a minimalist, geometric design for a more contemporary feel.Finishing Touches: Elegance and Protection
Your gun cabinet is almost ready to showcase your prized possessions. Now it's time to add the finishing touches.Sanding for Smoothness
* **From Rough to Smooth:** Start with rough sandpaper to remove any imperfections and then gradually move to finer grades, like 120, 180, and 220 grit sandpaper. This process creates a smooth surface that's perfect for the final finish.Protecting with Style
* **Oil or Polyurethane:** Choose a finish that aligns with your modern aesthetic. A natural oil finish like tung oil or linseed oil will enhance the wood's natural beauty and create a warm, inviting feel. Polyurethane offers a durable, waterproof finish that's perfect for high-traffic areas and protection against scratches. You can also experiment with semi-gloss or satin finishes for a contemporary look.Adding a Personal Touch
* **Optional Extras:** If you're feeling creative, consider adding a personalized touch to your cabinet. You can laser-etch your initials or a design on the front panel or create a custom inlay using contrasting wood species. Remember, the key is to keep it sleek and minimalist, adding subtle details that enhance the overall design.Safety First * **Locking Mechanisms:** Make sure your lock is high-quality and reliable. Consider using a double-locking system for extra security. * **Secure Installation:** Install your cabinet securely to a wall stud or use heavy-duty anchors for maximum protection against forced entry. * **Store Safely:** Always unload firearms before storing them in the cabinet. Use a gun rack or other storage system to keep your guns organized and secure. Enjoy Your Modern Masterpiece
Congratulations! You've created a sleek, modern gun cabinet that's both stylish and secure. Now you can proudly display your firearms in a space that reflects your personal style and values. Don't be afraid to let your creativity shine and personalize the design to make it uniquely yours. And remember, gun safety is paramount. Always practice responsible firearm ownership and storage.
Diy guide: wooden gun case for custom fit

Building a Custom Wooden Gun Case: A DIY Guide
For firearm enthusiasts, a well-made gun case is more than just storage; it’s a statement of pride and a testament to the value of your collection. But pre-made cases can often be generic and lack the personalized touch you crave. That’s where building your own custom wooden gun case comes in. This DIY project allows you to create a truly unique piece that perfectly accommodates your firearm, while also providing an opportunity to showcase your woodworking skills. This guide will walk you through the entire process, from planning to finishing, enabling you to craft a gun case that’s as beautiful as it is functional.
Planning Your Custom Gun Case
Before diving into the build, you need a solid plan. This involves carefully considering the dimensions, materials, and features you want in your gun case.
1. Measure Your Firearm
The first step is to take accurate measurements of your firearm. This includes the length, width, and height, as well as the shape and size of any accessories you plan to store inside.
2. Determine the Case Dimensions
Once you have your firearm’s measurements, you can determine the overall dimensions of the gun case. Add some extra space for padding and any desired internal compartments. For example, add 1-2 inches of extra width and height, and 3-4 inches of extra length for comfortable fit and padding.
3. Choose Your Wood
The type of wood you choose for your case will influence its appearance, durability, and weight. Some popular choices for gun cases include:
- Walnut: Known for its rich color and elegant grain patterns.
- Cherry: Offers warm tones and a smooth finish.
- Maple: Provides a strong and hard surface with a beautiful grain.
- Oak: A classic and sturdy choice, ideal for lasting durability.
4. Design the Interior
Think about how you want to organize your gun case. You can incorporate internal compartments for accessories, a dedicated slot for your firearm, and even a plush lining for added protection.
5. Consider the Features
Do you want a locking mechanism, a carry handle, or decorative hardware? Decide on any additional features you desire and plan how to integrate them into your design.
Gathering Your Tools and Materials
With your design finalized, you can gather the necessary tools and materials. This list will help you get started:
- Wood: Select your chosen wood type, considering the case dimensions and thickness you require.
- Woodworking tools: This includes a table saw, circular saw, jigsaw, drill press, router, sander, and hand tools like chisels and screwdrivers.
- Fasteners: Wood screws, glue, and dowels for assembly.
- Finishing supplies: Wood stain, clear coat, padding material, and any hardware for locks, hinges, or handles.
Building the Gun Case: Step-by-Step Guide
Now, it's time to bring your design to life. Here’s a detailed step-by-step guide:
1. Cut the Case Pieces
Use your woodworking tools to cut the wood into the dimensions you planned. For a traditional gun case, you’ll need two long pieces for the sides, two shorter pieces for the top and bottom, and two thinner pieces for the front and back.
2. Create the Internal Compartments
If your design includes compartments or shelves, cut and assemble them before attaching the case sides.
3. Assemble the Case Frame
Attach the top, bottom, front, and back panels to the side pieces using screws, glue, and dowels. Ensure that your joints are strong and precise.
4. Add Padding and Lining
Use padding materials like foam or felt to protect your firearm and provide a comfortable fit. Line the inside of the case with fabric or velvet for a more luxurious feel.
5. Add Features and Hardware
If you plan to add a lock, hinges, or a carry handle, install these at this stage. Make sure they are securely attached and functional.
6. Finish the Case
Sand your case to smooth out any imperfections and prepare for finishing. Apply a wood stain to achieve your desired color, then seal the case with a clear coat to protect it and enhance its beauty.
Essential Tips for Success
Here are some key tips to ensure your DIY gun case project turns out beautifully and safely:
- Plan carefully: Detailed planning and accurate measurements are crucial for success.
- Choose the right tools: Use high-quality woodworking tools for a professional finish.
- Use quality materials: Select durable and beautiful wood and finishing supplies for longevity.
- Practice safety: Always use proper safety precautions when working with woodworking tools and firearms.
- Take your time: Patience and attention to detail will result in a superior custom gun case.
Building a custom wooden gun case allows you to create a storage solution that's not only practical but also showcases your craftsmanship and love for your firearms. With careful planning and execution, you can confidently build a case that will protect and showcase your prized possessions for years to come.
Friday, November 8, 2024
Building your own wooden clock: tips and tricks
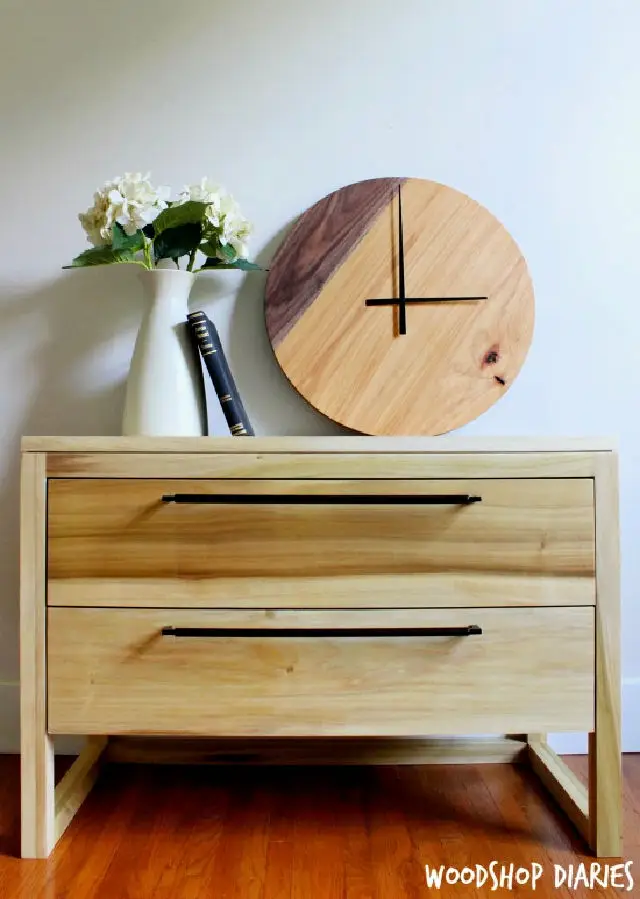
Hey there, crafty folks! Ever dreamt of having a unique, handcrafted clock on your wall? Well, ditch those mass-produced tickers and let's build one ourselves! This isn't just about telling time, it's about creating something personal, something you can be proud of.
Let's Get Started: The Essential Ingredients
First things first, gather your tools and materials. This isn't rocket science, but you'll need a few basics:
Wood: This is the heart of your clock, so choose wisely! Plywood, MDF, reclaimed wood, even that old pallet you've been eyeing - the possibilities are endless.
Clock Mechanism: The brains of the operation! You can find these online, and they come in different sizes and styles. Choose one that matches the look you're going for.
Hands: These are the actors, conveying the passage of time. Opt for hands that complement the clock face and your overall design.
Saw: For cutting the wood, a jigsaw or a handsaw will do the trick.
Sandpaper: Smooth those rough edges and give your clock a polished look.
Wood Glue: For a strong bond, a good quality wood glue is essential.
Finishing Supplies: This is where your creativity shines! Paint, stain, varnish, or even decoupage - choose your weapon!
Measuring Tape, Pencil, Drill: Your trusty companions for precision and assembly.
Designing Your Masterpiece: From Blank Slate to Timekeeper
Now, let's get creative! You can find inspiration everywhere, from vintage clocks to abstract designs. Here are a few ideas to spark your imagination:
Geometric Wonders: Clean lines and shapes for a minimalist look.
Rustic Charm: Embrace the imperfections of wood with knots and grain patterns.
Nature's Embrace: Incorporate leaves, branches, or even pressed flowers for a touch of whimsy.
Personalized Touches: Engraved initials, family crests, or a meaningful quote - make it truly yours!
Building the Base: A Foundation of Precision
Once you've sketched out your design, it's time to bring it to life. Cut the wood according to your measurements. Remember, accurate measurements are crucial for a balanced and functional clock.
Tips and Tricks for the Build:
Plan your cuts: Draw out your design on the wood, using a pencil and ruler for accuracy.
Sanding is key: Sand the edges and surfaces of your clock face, ensuring a smooth, polished finish.
Drill pilot holes: To prevent wood from splitting, drill pilot holes for screws before attaching the clock mechanism.
Test fit: Before attaching everything permanently, try fitting the mechanism and hands to ensure everything aligns perfectly.
Glue and clamp: For a strong, durable bond, apply wood glue to the joints and clamp them securely until the glue dries.
Finishing Touches: The Moment of Truth
Now comes the exciting part - dressing up your masterpiece!
Paint it up: Choose colors that match your style.
Staining for a natural look: Enhance the wood's grain with different shades of stain.
Add some texture: Use sandpaper, brushes, or stencils to create a unique look.
Accessorize with flair: Add embellishments like beads, buttons, or even small figurines to personalize your clock.
Time to Tick: Installing the Mechanism
Once the clock face is ready, it's time to install the mechanism. This is the part that brings your creation to life!
Centering the mechanism: Position the mechanism carefully in the center of your clock face.
Secure it firmly: Attach the mechanism using the screws provided or by drilling pilot holes and using wood screws.
Attaching the hands: Attach the hands to the mechanism in the correct order - hour, minute, and second.
Testing the time: Turn the clock mechanism to set the time and make sure everything works smoothly.
Showcasing Your Creation:
Congratulations! You've built a stunning, one-of-a-kind clock. Now it's time to display your masterpiece!
Find the perfect spot: Choose a wall where your clock will be showcased beautifully.
Hang it securely: Use a strong hook or nail to hang your clock securely on the wall.
Add a personal touch: Display it alongside other decorative items that complement your clock's style.
Beyond the Basics: Exploring Advanced Techniques
Ready to take your clock-making to the next level? Here are a few advanced techniques to try:
Wood Burning: Add intricate designs and details using a wood-burning tool.
Carving: Transform your clock with intricate carvings, adding depth and dimension.
Inlay: Create beautiful patterns by embedding different materials like wood, metal, or gemstones into the surface of the clock.
Intarsia: Build up your clock face by assembling pieces of wood with different colors and patterns.
The Joy of Building
Making your own wooden clock is a journey of discovery, a testament to your creativity. It's a rewarding process, one that allows you to leave your personal mark on every tick and tock.
So, gather your materials, unleash your imagination, and start building! Who knows, you might just discover a hidden talent for clock-making along the way.
How to build a grill gazebo with a sheltered dining area

Okay, picture this: You're throwing a summer bash, the grill is roaring, the music's pumping, and your guests are laughing around a table piled high with delicious food. But the sun is blazing, and everyone’s getting a little too toasty. Wouldn’t it be awesome if you had a shaded haven for your guests, right next to the grilling action?
Well, you can! Building a grill gazebo with a sheltered dining area is a game-changer for any backyard enthusiast. It's like creating your own personal outdoor dining room, complete with the perfect spot to cook up a storm. Ready to make your backyard dreams a reality? Let's get grilling!
Step 1: Sketching Out Your Backyard Utopia
First things first, it's time to grab a piece of paper and a pencil (or fire up your favorite design app!). Think about the space you have and what you want to achieve.
Size Matters: How big is your grill? Do you need room for a large dining table, or just a cozy bistro set?
Location, Location, Location: Where does the sun hit your yard? Do you want your gazebo on a sunny patch or shaded by trees?
Roofing Style: Fancy a classic gable roof or a more modern flat roof?
Step 2: Choosing Your Materials: A Sturdy Foundation for Your Dream
The materials you choose will determine the look and feel of your gazebo, and also impact the overall cost and construction process.
Wood: Classic, versatile, and generally affordable. Choose durable woods like cedar or redwood for longevity.
Metal: Modern and sleek, metal is a great option for low-maintenance construction.
Concrete: Heavy-duty and long-lasting, concrete is ideal for a more permanent structure.
Vinyl: Lightweight and easy to clean, vinyl is a good choice for a low-maintenance gazebo.
Step 3: Building the Base: Laying the Groundwork for Your Backyard Oasis
This is where your project really starts to take shape!
Foundation: A sturdy foundation is crucial for a stable gazebo. Consider concrete piers for a solid base, or use pressure-treated lumber for a more budget-friendly approach.
Framing: Construct the frame using strong, straight lumber. Use corner braces for extra stability, and make sure your measurements are precise.
Posts: These will be the vertical supports for your gazebo, so make sure they’re sturdy and anchored securely to your foundation.
Step 4: Roofing It Over: Shelter from the Elements
Here’s where you get to add a touch of style to your gazebo!
Roof Material: Choose a roof that complements your style and budget. Options include shingles, metal panels, or even fabric coverings.
Gutters: Don't forget about gutters to direct rainwater away from your gazebo and keep your structure dry.
Ventilation: Consider adding vents or skylights for airflow and to prevent heat buildup.
Step 5: Creating Your Dining Haven: A Place to Gather and Feast
Now it's time to turn your gazebo into a haven for dining and socializing!
Walls: If you want to create a more enclosed space, add walls to your gazebo using latticework, vinyl panels, or even screens.
Lighting: Outdoor lighting is essential for enjoying your gazebo in the evenings. Choose string lights, lanterns, or even solar-powered options.
Table and Chairs: Pick a dining set that complements the style of your gazebo and provides comfortable seating for your guests.
Step 6: Finishing Touches: Adding Personal Flair
Now it's time to personalize your space and create a truly unique outdoor haven!
Decor: Add cozy touches with outdoor rugs, plants, cushions, and throws.
Grill Area: Don't forget about the grill! Create a dedicated grilling area within your gazebo with a countertop, storage shelves, and a convenient location for your propane tank.
Storage: Add shelves or cabinets to keep your grilling tools and dining supplies organized and within reach.
Step 7: The Grand Opening: Unveiling Your Backyard Oasis
Congratulations! You've built your very own grill gazebo, a place where you can enjoy delicious meals, laughter, and unforgettable moments.
Celebrate! Throw a grand opening party to celebrate your new backyard oasis.
Enjoy! Relax, unwind, and enjoy the fruits of your labor.
Beyond the Basic: Adding Extra Touches
Fire Pit: Create a cozy atmosphere with a fire pit, perfect for roasting marshmallows and extending your enjoyment into the evenings.
Outdoor Kitchen: Upgrade your grilling experience with an outdoor kitchen. Add a sink, refrigerator, and even a pizza oven for culinary adventures.
Bar Area: Add a bar area with stools and a beverage cooler to make your gazebo the ultimate hangout spot.
Water Feature: Add a soothing water feature like a fountain or pond to enhance the ambiance of your outdoor haven.
Safety First:
Electrical Wiring: Always consult with an electrician to ensure safe and proper wiring for any electrical fixtures.
Building Codes: Check local building codes before starting your project.
Fire Safety: Keep a fire extinguisher handy, and never leave a hot grill unattended.
Building a grill gazebo is a rewarding project that will transform your backyard into a welcoming space for entertaining and relaxation. With careful planning and a bit of effort, you can create a backyard oasis that you'll cherish for years to come. So grab your tools, get creative, and let the good times roll!
Thursday, November 7, 2024
Making a wooden clock: a complete diy guide

Alright, folks, let's talk about a project that combines the magic of woodworking with the timeless beauty of a handcrafted clock. We're diving deep into the world of DIY and building a wooden clock from scratch! Don't worry, it's not as complicated as it sounds. Think of it as a journey, a journey where you combine your creativity with the power of tools to create a unique piece that'll tell time and become a cherished part of your home.
Gathering Your Tools and Materials
Before we jump into the heart of the project, let's gather our supplies. Think of this as a toolbox for your creative journey:
Wood: The foundation of our clock. Here's where your artistic flair shines. You can choose from pine, oak, maple, walnut, or even reclaimed wood - the sky's the limit! Think about the style you're going for - minimalist, rustic, or something bolder - and choose your wood accordingly.
Clock Movement: The heart and soul of our timepiece. You can find these online, and they come in various sizes and styles. Don't worry about the technical stuff â€" just make sure it matches the size and design of your clock.
Wood Glue: The glue that binds our clock together. It's the invisible hero of this project, so choose a strong, high-quality wood glue.
Sandpaper: This smooths out the wood, making your clock look polished and professional. Get sandpaper in various grits, from coarse to fine, to create the perfect finish.
Wood Stain or Paint: This adds color and depth to your clock. Do you want a natural wood finish or a vibrant burst of color? The choice is yours!
Protective Finish: A layer of varnish, poly, or wax will safeguard your clock against scratches and spills, ensuring it stays beautiful for years to come.
Clamps: These handy tools hold the wood pieces together while the glue dries, ensuring a strong and sturdy clock.
Measuring Tape and Pencil: These are your trusty companions for accurate measurements and marking your cuts.
Saw: Whether it's a hand saw, circular saw, or jigsaw, a saw is essential for cutting the wood to size.
Drill and Drill Bits: We'll use these for creating holes for the clock movement, hands, and any other decorative elements.
Router: This tool helps create clean, smooth edges and decorative details. But don't worry if you don't have one â€" you can always use sandpaper to achieve a similar effect.
Clock Hands: The final touch for your time-telling masterpiece. Choose hands that complement the style of your clock.
The Heart of the Project: Creating the Clock Face
Now, let's get our hands dirty! The clock face is the canvas for your creativity. Here are the steps:
1. Design: Sketch out your vision. Do you want a simple circular face, a geometric design, or something whimsical? The design sets the stage for your entire clock, so take your time and let your imagination run wild.
2. Cutting the Wood: Measure and cut the wood to the size and shape of your chosen design. You can use a saw or, for intricate shapes, a jigsaw. Be precise â€" a well-cut face is the foundation for a beautiful clock.
3. Adding Detail: If you want to create a unique look, use a router to carve decorative borders or patterns into your clock face. A router lets you unleash your artistic side and add personal touches that make your clock truly yours.
4. Smoothing the Edges: Sand down the wood with progressively finer grit sandpaper. This step removes any rough edges and gives the clock face a smooth, professional finish.
5. Finishing Touches: Use wood stain or paint to achieve the desired look. You can create a natural wood finish, a bold color, or even a distressed look â€" the possibilities are endless!
The Inner Workings: Installing the Clock Movement
Now comes the crucial part: installing the clock movement. This is the heart that makes your clock tick!
1. Mark and Drill: Carefully mark the center of the clock face and drill a hole large enough to accommodate the clock movement. Be sure to choose a drill bit that is slightly smaller than the diameter of the clock movement shaft to ensure a snug fit.
2. Mount the Movement: Securely attach the clock movement to the back of the clock face using the screws or nuts provided. You can add a small piece of wood or a cardboard disc for a stronger and more stable mount.
3. Attach the Hands: Now comes the finishing touch: attach the clock hands to the clock movement. The hands usually have small nuts or clips that secure them in place. Make sure the hands are aligned correctly before you tighten them.
Bringing Your Clock to Life: Finishing Touches
We're almost there! The final steps are the finishing touches that polish your clock to perfection.
1. Adding Protection: Apply a layer of varnish, poly, or wax to protect your clock from scratches, spills, and wear and tear. This layer also enhances the beauty of the wood and gives your clock a long-lasting shine.
2. Finding the Right Place: Choose a spot that showcases your clock’s beauty. Think about the light, the background, and the overall aesthetic of your home. Your clock deserves a place where its craftsmanship can be admired.
From Scratch to Timepiece: Your Wooden Clock Journey
Congratulations! You've just created a unique wooden clock, a testament to your creativity and craftsmanship. Each step, from selecting the wood to adding the finishing touches, has contributed to a masterpiece that will tell time and hold a special place in your heart.
Remember, woodworking is a journey, not a destination. It's about exploring your creativity, learning new skills, and creating beautiful, lasting pieces. Your wooden clock is just the beginning, a stepping stone to a world of woodworking possibilities. So, embrace the process, enjoy the journey, and let your creativity soar!
How to build a wooden bathroom storage cabinet to maximize space

Hey there, fellow bathroom clutter warriors! Tired of battling overflowing drawers and lost toiletries? Let's build a custom wooden storage cabinet that’ll not only tame the chaos but also add a touch of rustic charm to your space.
I'm not talking about some generic, off-the-shelf monstrosity. We're crafting something tailor-made to fit your bathroom's nooks and crannies, maximizing every inch.
This project isn't just about storage, it's about empowering you to design and build something awesome! It's a chance to unleash your inner carpenter and create a piece that's uniquely yours.
Ready to tackle this project? Let's get started!
1. Planning & Design
First things first, we need a plan. Grab a pencil, some graph paper, and maybe a glass of your favorite beverage (you'll need the inspiration).
Measure, Measure, Measure! Your bathroom is the canvas, and accurate measurements are your paintbrush.
Determine the available space: Where will this cabinet live? Measure the width, depth, and height of the space, leaving some wiggle room for installation.
Consider your needs: Think about what you want to store (towels, toiletries, makeup, etc.). Sketch out your vision, including shelves, drawers, or open compartments.
Choosing the right wood: Pine is a classic choice for its affordability and workability. If you want something more durable, consider hardwood like oak or maple.
Draw a detailed plan: Don't just rely on a rough sketch. Draw out a clear plan with dimensions, cuts, and placement of shelves, drawers, and doors.
Gather your materials: Head to the lumber yard, armed with your plan and a list of necessary materials (wood, plywood for shelves and back, hinges, handles, screws, wood glue, stain or paint). Don't forget the safety gear!
2. Cutting the Wood
Now it's time to unleash your inner lumberjack!
Cutting the base: Measure and cut the pieces for the base of your cabinet.
Cutting the sides: These are vertical pieces, holding up your shelves and back panel.
Cutting the top: This piece will add stability and a finished look.
Cutting the shelves: Measure and cut your shelves based on your design.
Cutting the back panel: Use plywood for this.
Cutting the doors: Measure the opening for the doors and cut them out.
3. Assembly
Here's where your woodworking skills really shine. Let's assemble this masterpiece!
Start with the base: Join the base pieces, ensuring they're square and level. Secure them with wood glue and screws.
Attach the sides: Fit the sides to the base, making sure they're vertical and flush. Secure with glue and screws.
Add the back panel: Secure the plywood back panel to the sides and base.
Install the shelves: Place your shelves, ensuring they're level and evenly spaced. Secure them with glue and screws.
Attach the top: Fit the top onto the sides, aligning it with the base and securing with glue and screws.
4. Finishing Touches
Your cabinet is taking shape! Now, let's give it the final touches that will make it truly stand out.
Sanding: Sand down the wood to remove any rough edges and create a smooth surface. Start with coarser grit and finish with finer grit sandpaper.
Applying stain or paint: This is your chance to express your creativity! Choose a stain that complements your bathroom decor, or paint it a vibrant color to add a pop of personality.
Attaching the doors: Now it's time to hang those doors! Fit your hinges and secure them to the cabinet and the doors. Adjust the doors to ensure they close smoothly.
Adding hardware: Dress up your cabinet with decorative handles or knobs.
5. Installation & Enjoyment!
You did it! You've built a beautiful and functional bathroom storage cabinet. Now, let's make it a part of your bathroom.
Positioning: Choose the perfect spot for your cabinet. It's best to avoid direct sunlight and moisture.
Securing: Attach the cabinet to the wall using sturdy brackets or anchors.
Enjoy! Now, fill your cabinet with all your bathroom essentials and bask in the glory of a tidy and organized space.
Tips & Tricks
Get creative with storage solutions: Consider adding drawers, baskets, or a pull-out hamper for maximum organization.
Don't forget about lighting: Install a light inside the cabinet to make it easy to find what you need.
Think about ventilation: Add some ventilation holes in the back of the cabinet to prevent moisture buildup.
Protect your surfaces: Apply a sealant or varnish to the wood to protect it from moisture and spills.
Remember, this is your project! Don't be afraid to experiment with different designs, materials, and finishes. Make it your own and enjoy the process!
With a little planning, effort, and maybe a bit of patience, you'll be able to transform your bathroom from a clutter zone into a space that's both functional and stylish. You've got this!
Wednesday, November 6, 2024
Door woodworking plans


Crafting a beautiful, functional door is a rewarding woodworking project. Whether you're building a statement piece for your home or a sturdy exterior door, choosing the right plans is crucial for success.
Start with the Basics:
Plan Type: Are you aiming for a traditional, modern, or rustic design? Consider your architectural style and personal preferences.
Materials: Opt for wood species that suit your project's needs. Hardwoods like oak and mahogany offer durability and beauty, while softwoods like pine are more affordable.
Construction Method: Choose between frame-and-panel, solid core, or flush construction based on your desired look and strength.
Tools & Skills: Be realistic about your skill level and available tools. Many plans offer varying levels of complexity.
Finding the Perfect Door Plans:
Online Resources: Websites like Woodworking for Mere Mortals, Popular Woodworking, and Ana White offer a plethora of free and paid door plans.
Books & Magazines: Publications dedicated to woodworking provide detailed instructions and expert guidance.
Local Lumberyards: Some lumberyards may offer plan recommendations or even custom design services.
Tips for Choosing the Right Plans:
Clear & Detailed Instructions: Look for plans with comprehensive diagrams, step-by-step instructions, and cut lists.
Skill Level: Choose plans suitable for your experience. Beginner plans often use simpler designs and materials.
Reviews & Testimonials: Check reviews from other woodworkers to get an idea of plan clarity and accuracy.
Material Cost & Availability: Factor in the cost of wood and hardware, ensuring materials are readily available.
Beyond the Plans:
Invest in Quality Tools: Sharp blades, accurate measuring tools, and a sturdy workbench are essential for precise cuts and smooth finishes.
Practice Your Techniques: Before tackling your door, hone your skills on smaller projects to gain confidence.
Don't Rush: Take your time, work meticulously, and enjoy the process.
Crafting your own door is a rewarding experience. By choosing the right plans and putting in the effort, you'll create a unique and beautiful piece that adds character to your home.
How to build a rustic adirondack chair for a cozy cabin feel

Dreaming of a cabin retreat where you can relax in comfort amidst nature's embrace? Look no further than building your own rustic Adirondack chair! This iconic design, with its signature angled back and wide armrests, embodies cozy cabin vibes. Here's how to get started:
1. Choose Your Rustic Lumber:
Cedar: Natural oils resist rot and insects, making it ideal for outdoor furniture. Its warm, reddish hue adds a rustic charm.
Pine: A budget-friendly option that also possesses a natural resistance to decay. Pine's lighter color provides a classic cabin look.
Reclaimed Wood: Adds character and sustainability to your project. You can often find salvaged planks at antique shops or demolition sites.
2. Gather Your Tools:
Saw: Circular saw or a table saw for accurate cuts.
Drill: With various drill bits for pilot holes and fastening screws.
Screwdriver: A cordless screwdriver makes assembly faster.
Sandpaper: For smoothing rough edges and ensuring a comfortable finish.
Clamps: To hold pieces together during assembly.
Wood Glue: To bond pieces for added strength and durability.
3. Find Your Perfect Plan:
Online Resources: Websites like Ana White and Instructables offer free DIY plans with detailed instructions and diagrams.
Cabin-Style Magazines: Search for plans specific to rustic Adirondack chair designs.
Local Lumberyard: Ask for recommendations or if they have available plans.
4. Focus on Rustic Details:
Distressed Finish: Sand some areas to reveal the wood's natural grain and add an aged look.
Reclaimed Wood Accents: Incorporate salvaged wood for chair legs or seat supports to enhance the rustic aesthetic.
Natural Finish: Opt for a clear sealant to allow the wood's natural beauty to shine through.
5. Enjoy Your New Cabin Haven:
Once your chair is built, relax and soak in the cozy cabin atmosphere. Enjoy the comfort of your creation while surrounded by the serenity of nature.
How to organize a small woodworking shop


Alright, let's get your woodshop in tip-top shape! Organizing a small space can feel like a puzzle, but it's all about making the most of what you've got. Here's the lowdown on how to turn that chaotic corner into a woodworker's paradise.
Why Organize?
Find what you need, when you need it: No more digging through piles of lumber to find that tiny screw. Smooth workflow means more time actually building, less time searching.
Safer workspace: Clutter is a tripping hazard, and tools scattered everywhere are begging for accidents. Keeping things tidy keeps you and your projects safe.
Work smarter, not harder: An organized shop helps you think clearly, leading to better decisions and more creative work.
How to Conquer the Chaos
1. The Big Purge - Let Go of the Past
Clean slate: Before you start arranging, get rid of anything you haven't used in a year. This includes broken tools, old projects, and those piles of "maybe I'll need this someday" bits.
Give it a good clean: Dust, sawdust, and cobwebs are the enemies of a smooth shop. A good wipe down will make everything feel fresh and ready to go.
2. Wall Power - Vertical Storage Wins
Maximize vertical space: Small shops need to think up, not out. Walls are your best friend.
Shelves, shelves, shelves: Open shelving lets you see everything at a glance. Utilize different shelf sizes for different items.
Pegboards and tool organizers: Hang your tools, clamps, and measuring tools on pegboards, leaving your workbench clear for action.
Magnetic strips: For your favorite screwdrivers and other metal tools, magnetic strips are a quick and easy way to keep them organized.
3. Workbench Bliss - The Heart of Your Shop
Clear the clutter: The workbench is your main working area. Keep it as clear as possible.
Designated zones: Think about what you do most often: cutting, sanding, assembly. Create zones for different tasks.
Workbench accessories: Invest in a good vise, clamp rack, and a tool caddy. Having these handy tools close at hand will make your work more efficient.
4. Lumber Storage - Keep it Organized, Keep it Safe
Lumber racks: These are essential for storing boards and sheets vertically.
Stacking lumber: If you use a lot of lumber, think about a system for stacking. Keep similar sizes together, and label them with their dimensions.
Out of the way: If possible, store lumber away from direct sunlight and moisture to prevent warping and damage.
5. Mobile Madness - Rolling Carts and Storage Units
Portable power: Get a rolling cart or toolbox to keep power tools and accessories organized and easily accessible.
Project-specific carts: For large projects, consider a rolling cart to hold all the materials you need. This way, you can move your entire project to a different work area easily.
6. Label, Label, Label!
Clear and consistent: Label everything! Use a clear labeling system, so you can easily find what you need.
Bin labels: Use bin labels for screws, nuts, bolts, and other small parts.
Inventory: Take an inventory of your tools and materials. This will help you track what you have and what you need to buy.
7. Don't Forget the Details
Dust collection: A good dust collection system is essential for a healthy shop and clear working space.
Lighting: Make sure you have adequate lighting in your shop. Good lighting will help you see your work clearly and prevent mistakes.
Personal space: Make sure you have enough room to move around comfortably. A cramped space can make it difficult to work efficiently.
Keeping it Up
Regular cleaning: Set aside 10-15 minutes each week to clean and organize your shop.
"One in, one out" rule: If you bring something new into your shop, get rid of something old. This helps keep things from getting out of control.
Experiment: Don't be afraid to experiment with different storage ideas until you find a system that works for you.
Enjoy the Process: A well-organized shop should make woodworking more enjoyable!
Large round wood coffee tables for living rooms

10 Ideas For Stylish Round Wood Coffee Tables To Elevate Your Living
For a small living room, the right furniture makes the space comfortable and stylish. Look for pieces that fit well and are practical. Prioritizing size and function helps create a cozy, welcoming
Boundless Cognition Large round wood coffee tables for living rooms
Rugs and lighting are a great way to zone spaces within a larger room and they always help to make your home cosy. In a rectangular space, you can position your furniture around two different rugs,
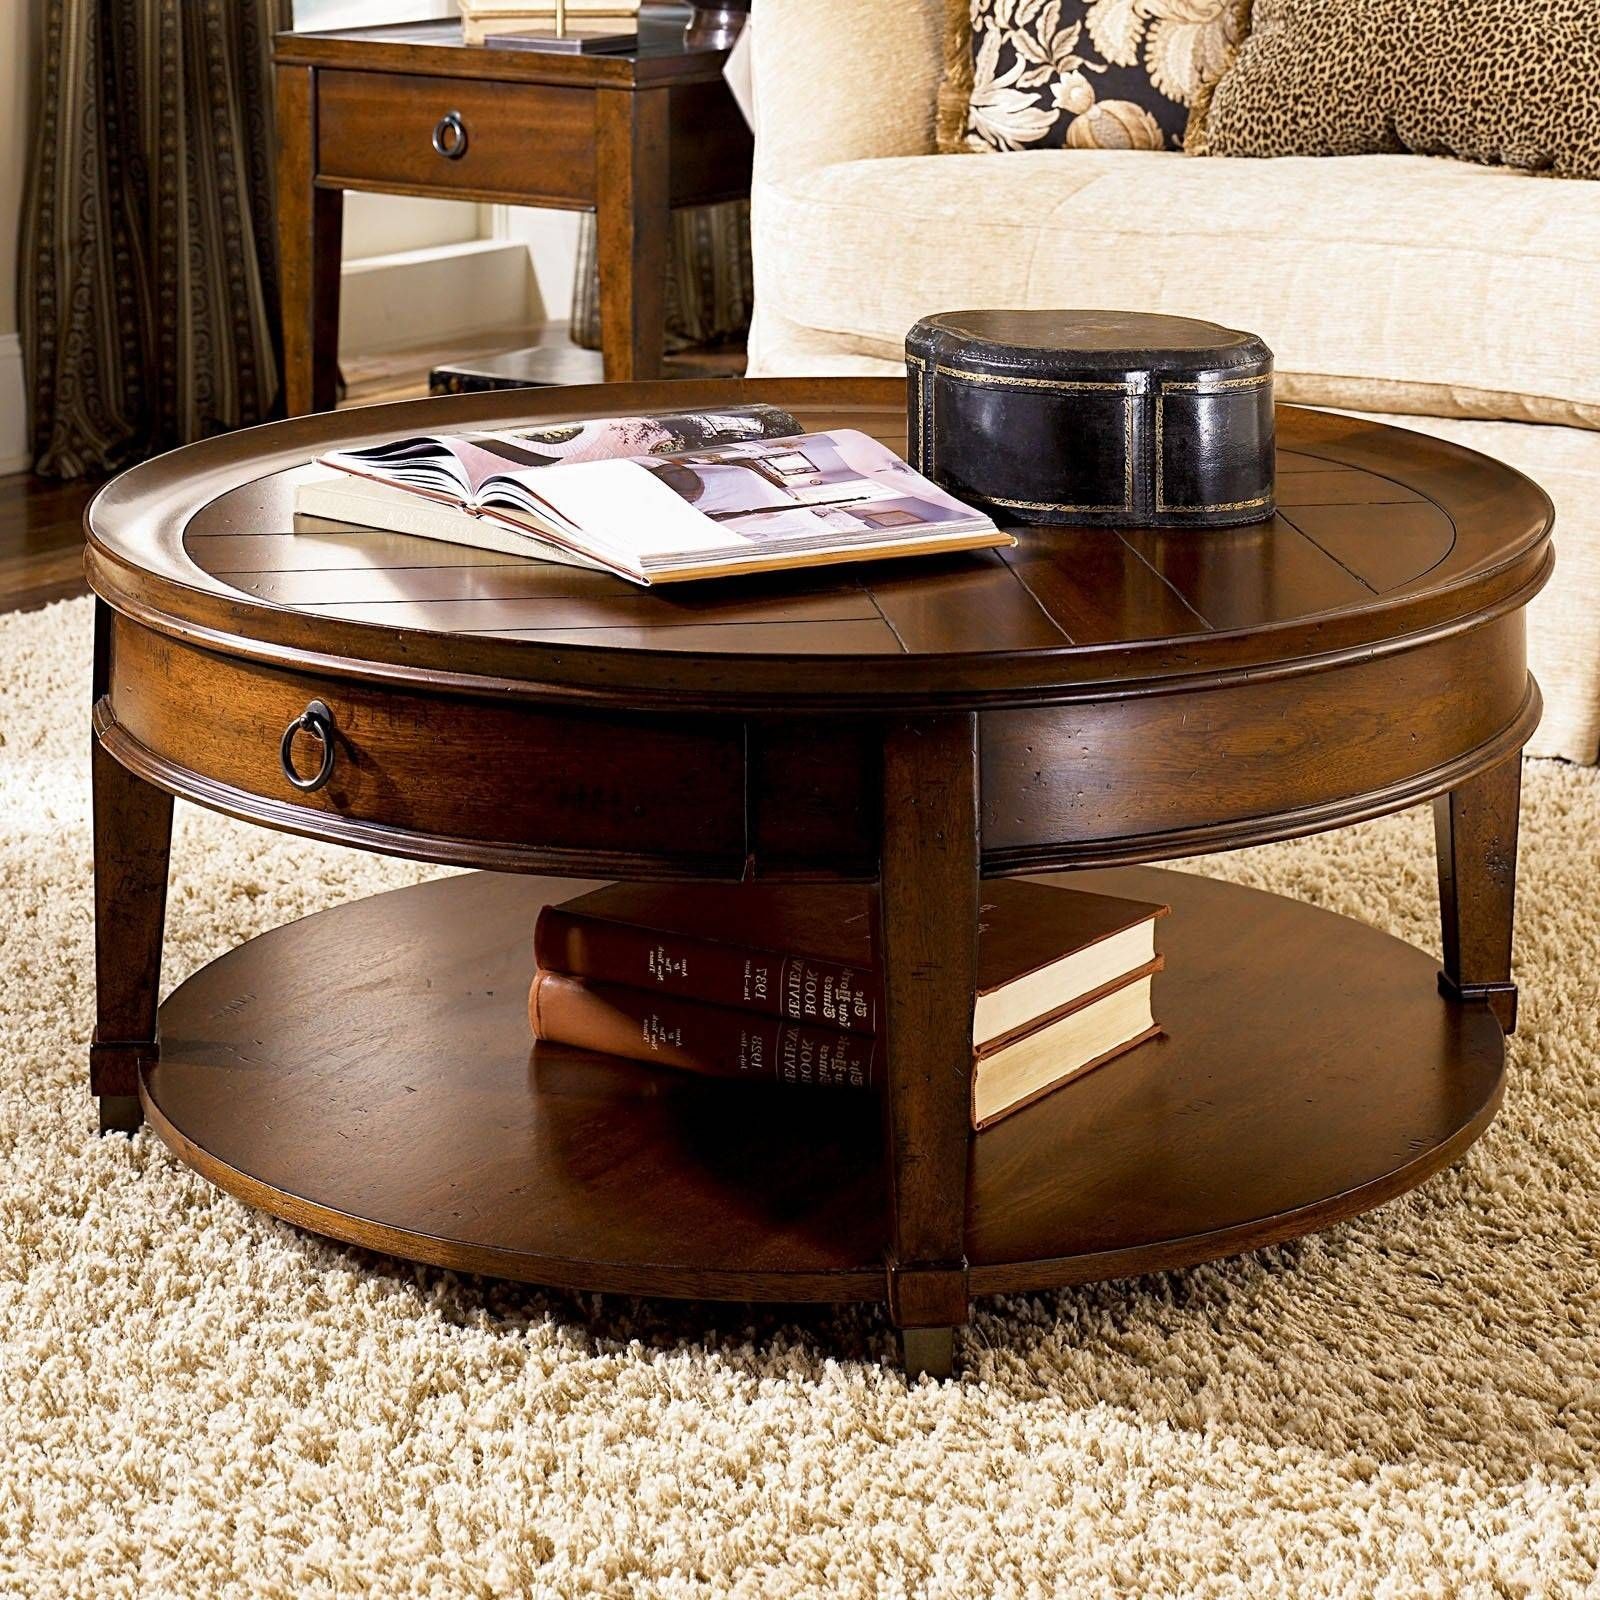
Best 30+ of Round Coffee Tables with Drawers
This is your last chance to get the best deals on coffee tables during the Amazon sale. Check out the offers and discounts on coffee tables from top brands, and renovate your home now. Despite the small sizes, coffee tables are placed in the center of a room and will likely be the first thing that catches your eyes. That’s why it’s important to find a good one that matches your Upgrade your living room’s ambiance with the You work too hard to rest your feet on a boring coffee table. That IKEA Trulstorp may have served you well in college, but your tastes have evolved

Gexpusm Round Wood Coffee Table, Natural Wood Coffee Table, Round Solid
The Woody FurnitureTM Sheesham Coffee Table with Stools is a modern and stylish addition to any living room. The table features a solid Sheesham wood construction with a contemporary design Here at Very have a fab range of living room tables for you to choose from You'll find traditional wood, modern white gloss and minimalist glass coffee tables. Nest tables â€" available in wood,
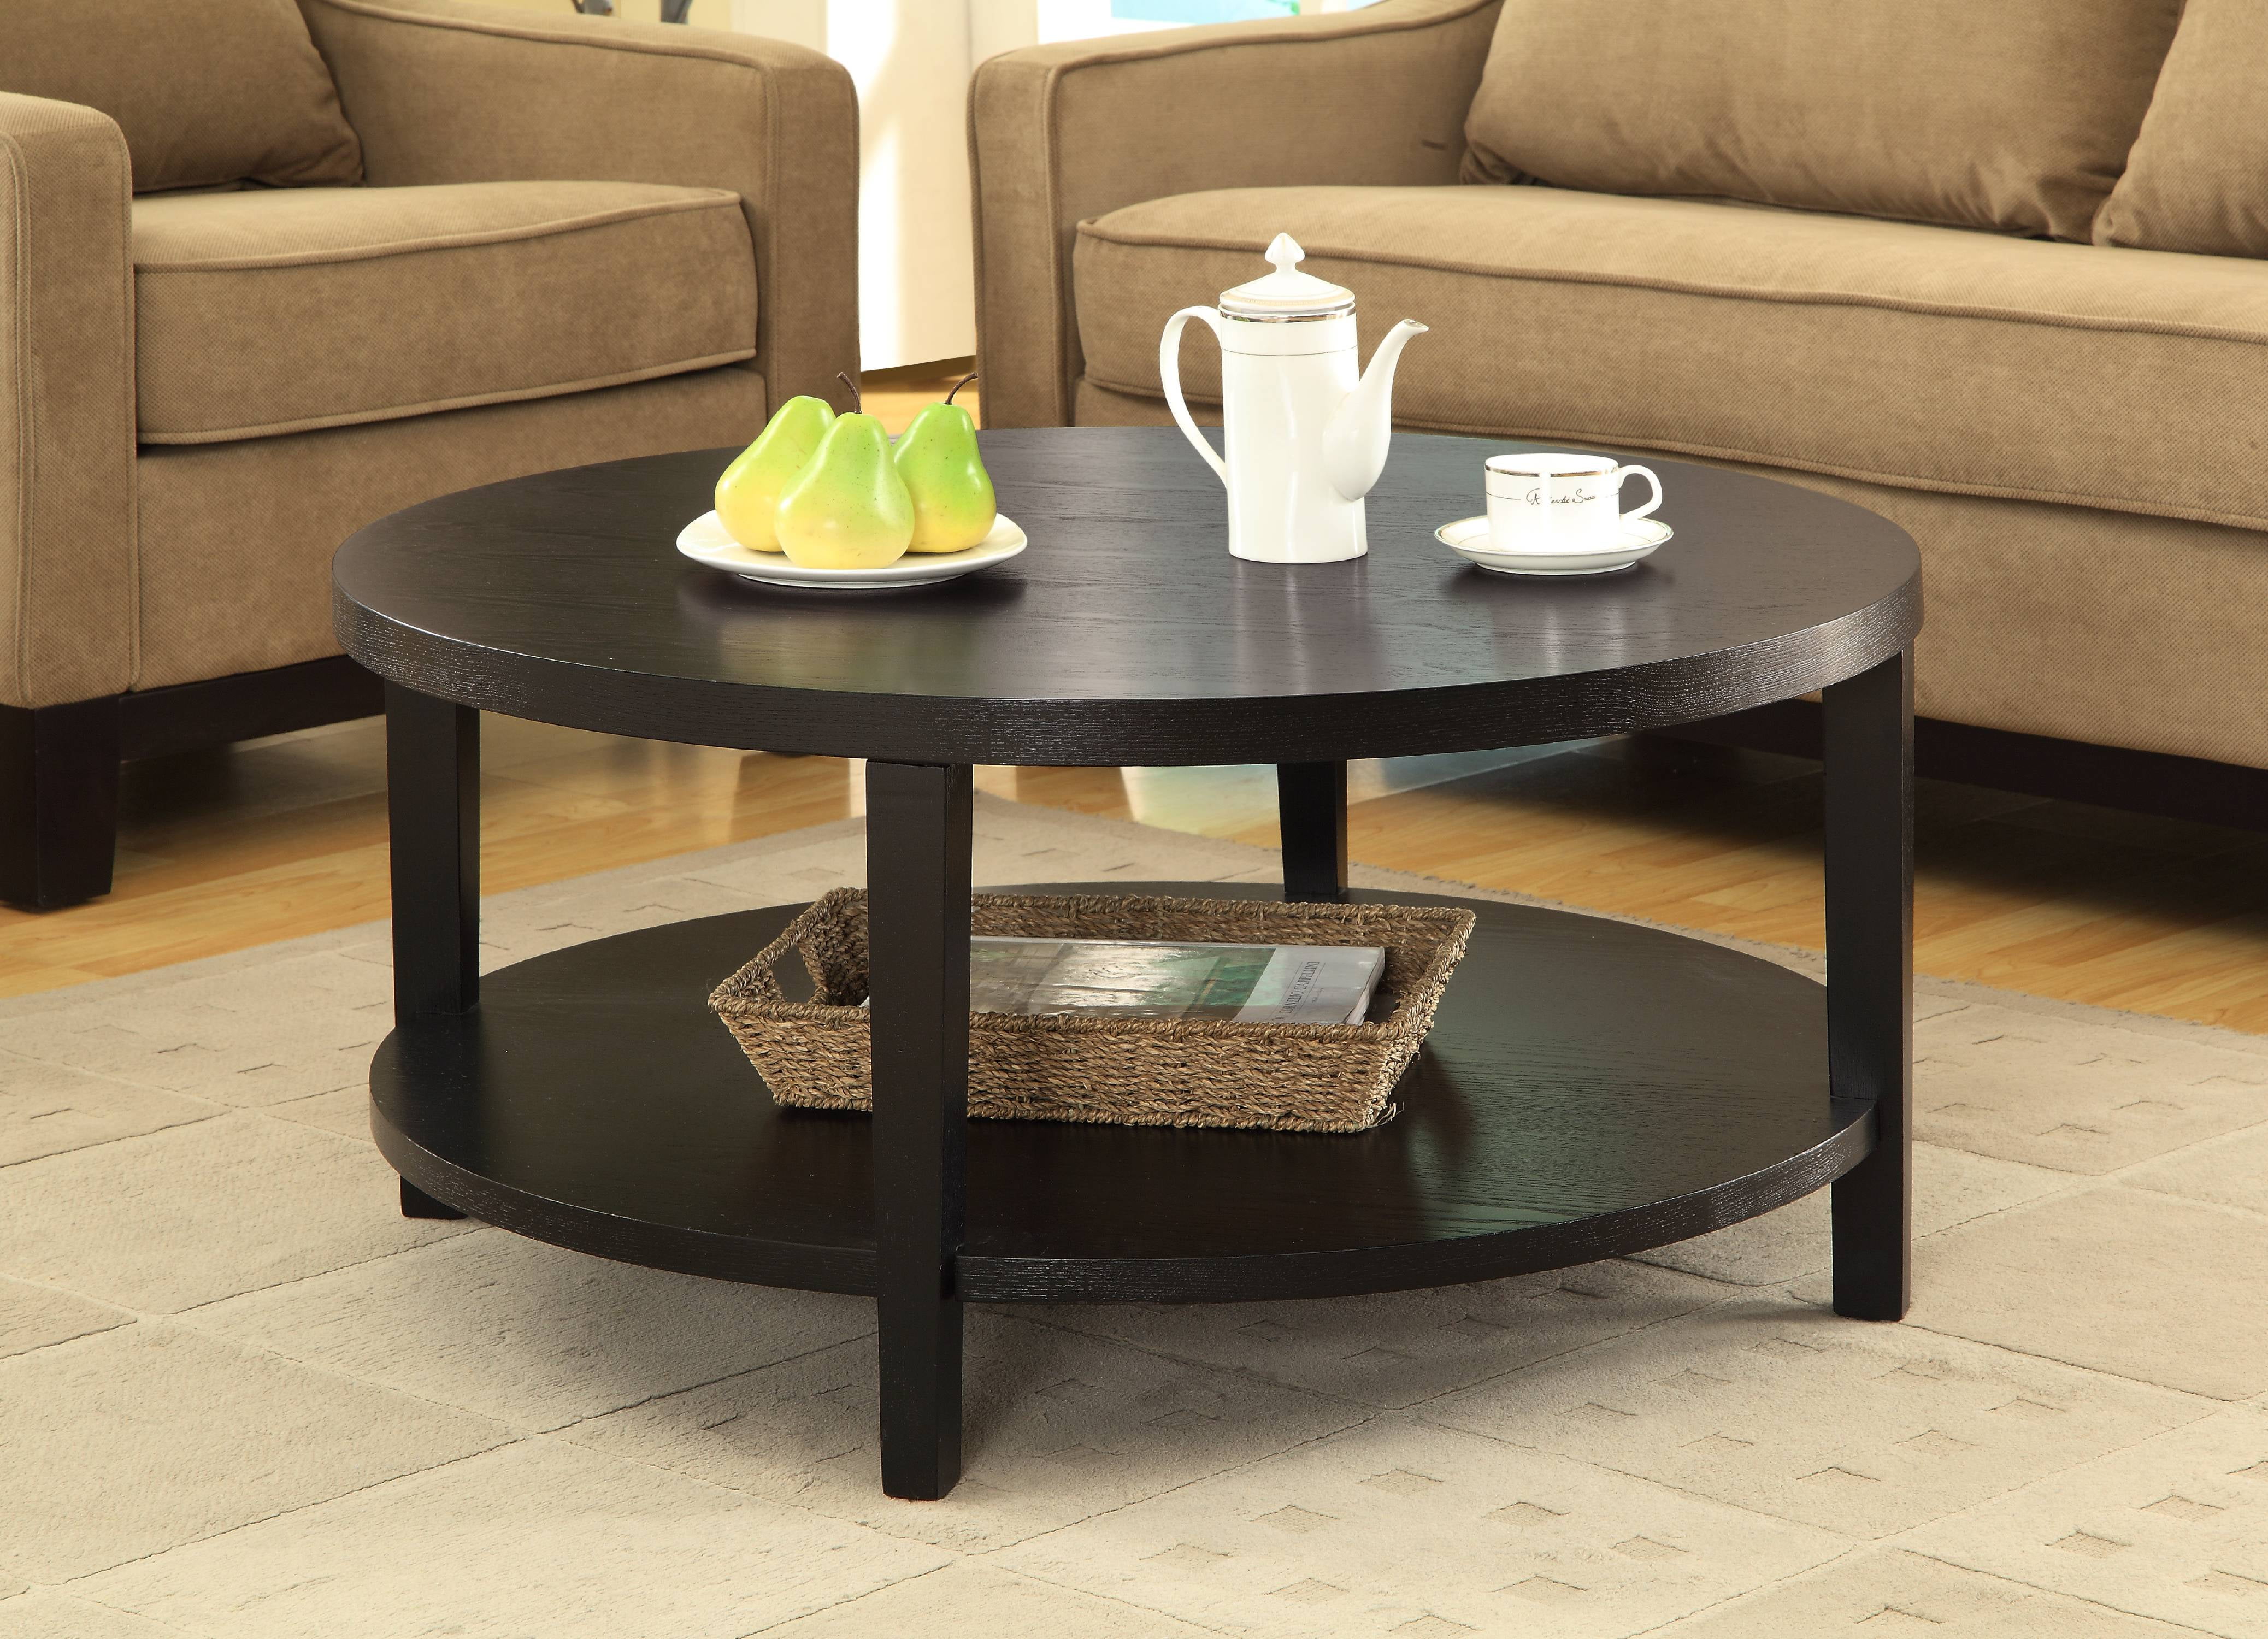
Merge 36" Round Coffee Table - Walmart.com
This coffee table is crafted from high-quality acacia wood, known for its durability and distinctive grain patterns. The rich, warm tones of the wood add a touch of sophistication and charm to your From a rustic lakeside retreat to an adorable Cotswold cottage, these cozy properties are giving us serious home envy, plus they're full of inspiring decor ideas
Large round wood coffee tables for living rooms - to aid produce the interest individuals website visitors can be boastful to build this page. improving upon human eye your content may all of us put on in the future so as to definitely fully grasp following scanning this publish. Ultimately, it isn't a couple of terms that need to be meant to tell people. nonetheless as a consequence of restriction with expressions, we could simply current the particular Last chance to get Amazon Diwali offers on coffee tables for your home and outdoors discourse right up listed here
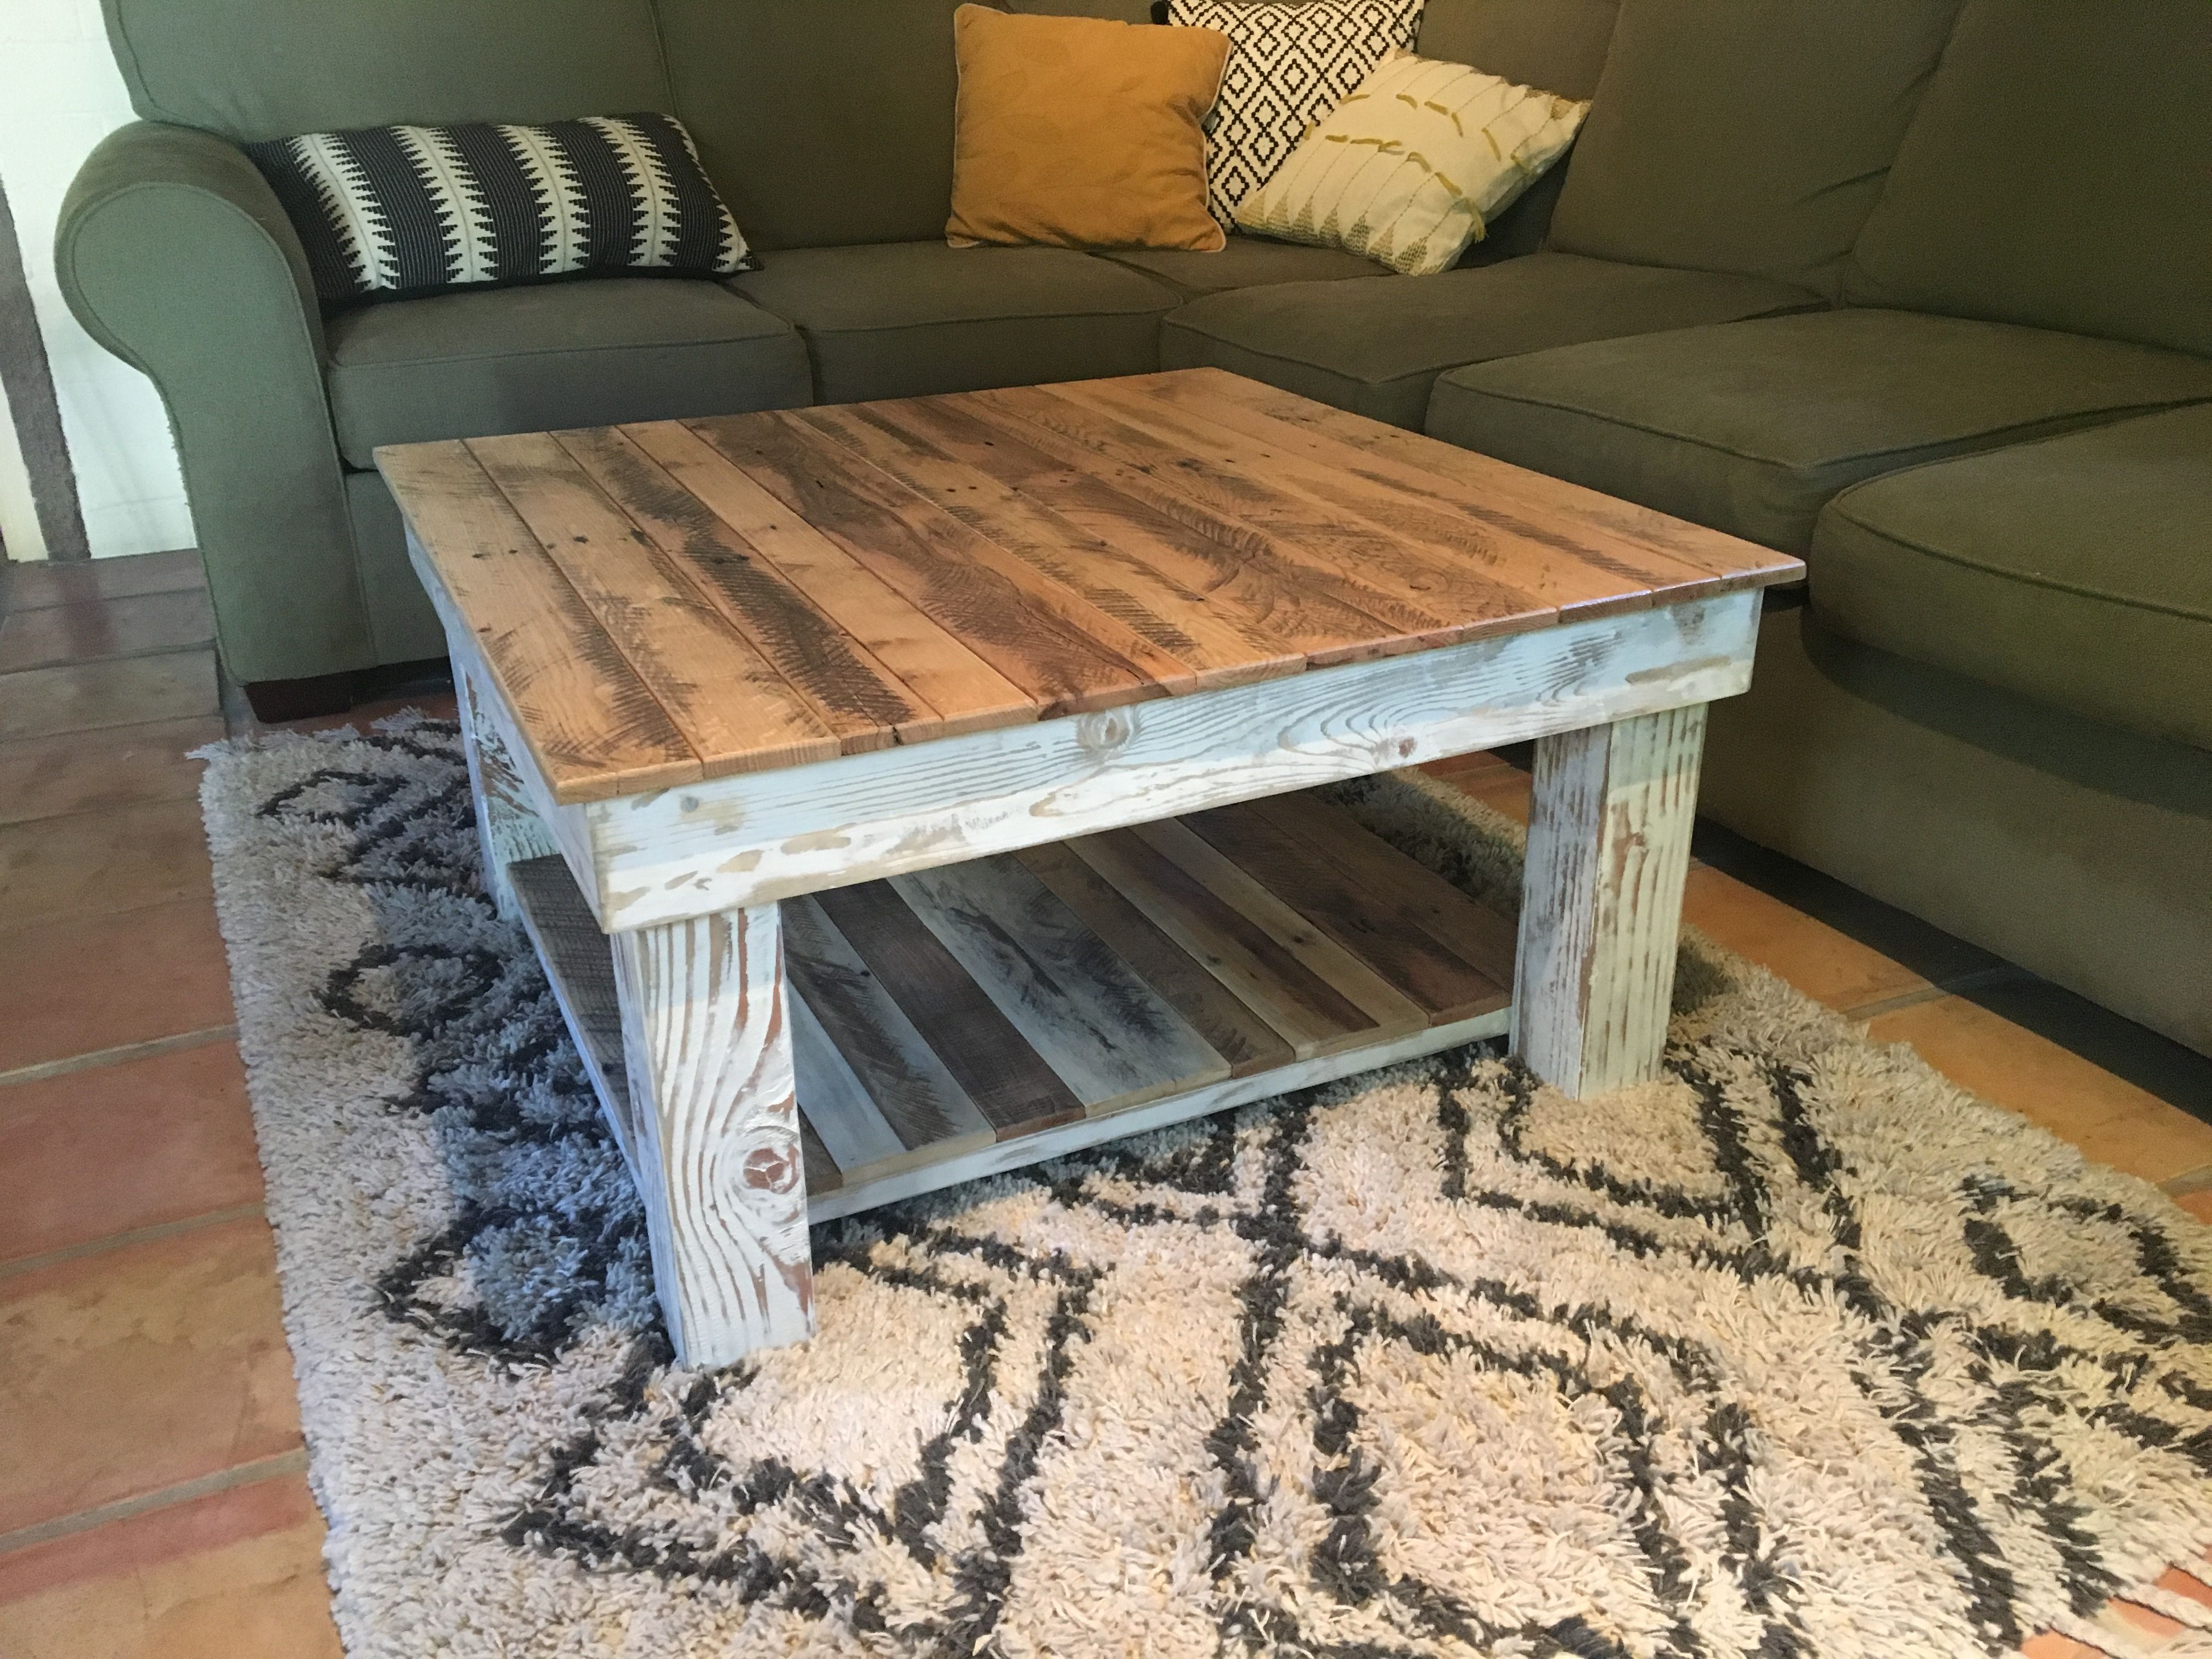
Reclaimed wood coffee tables with rustic style
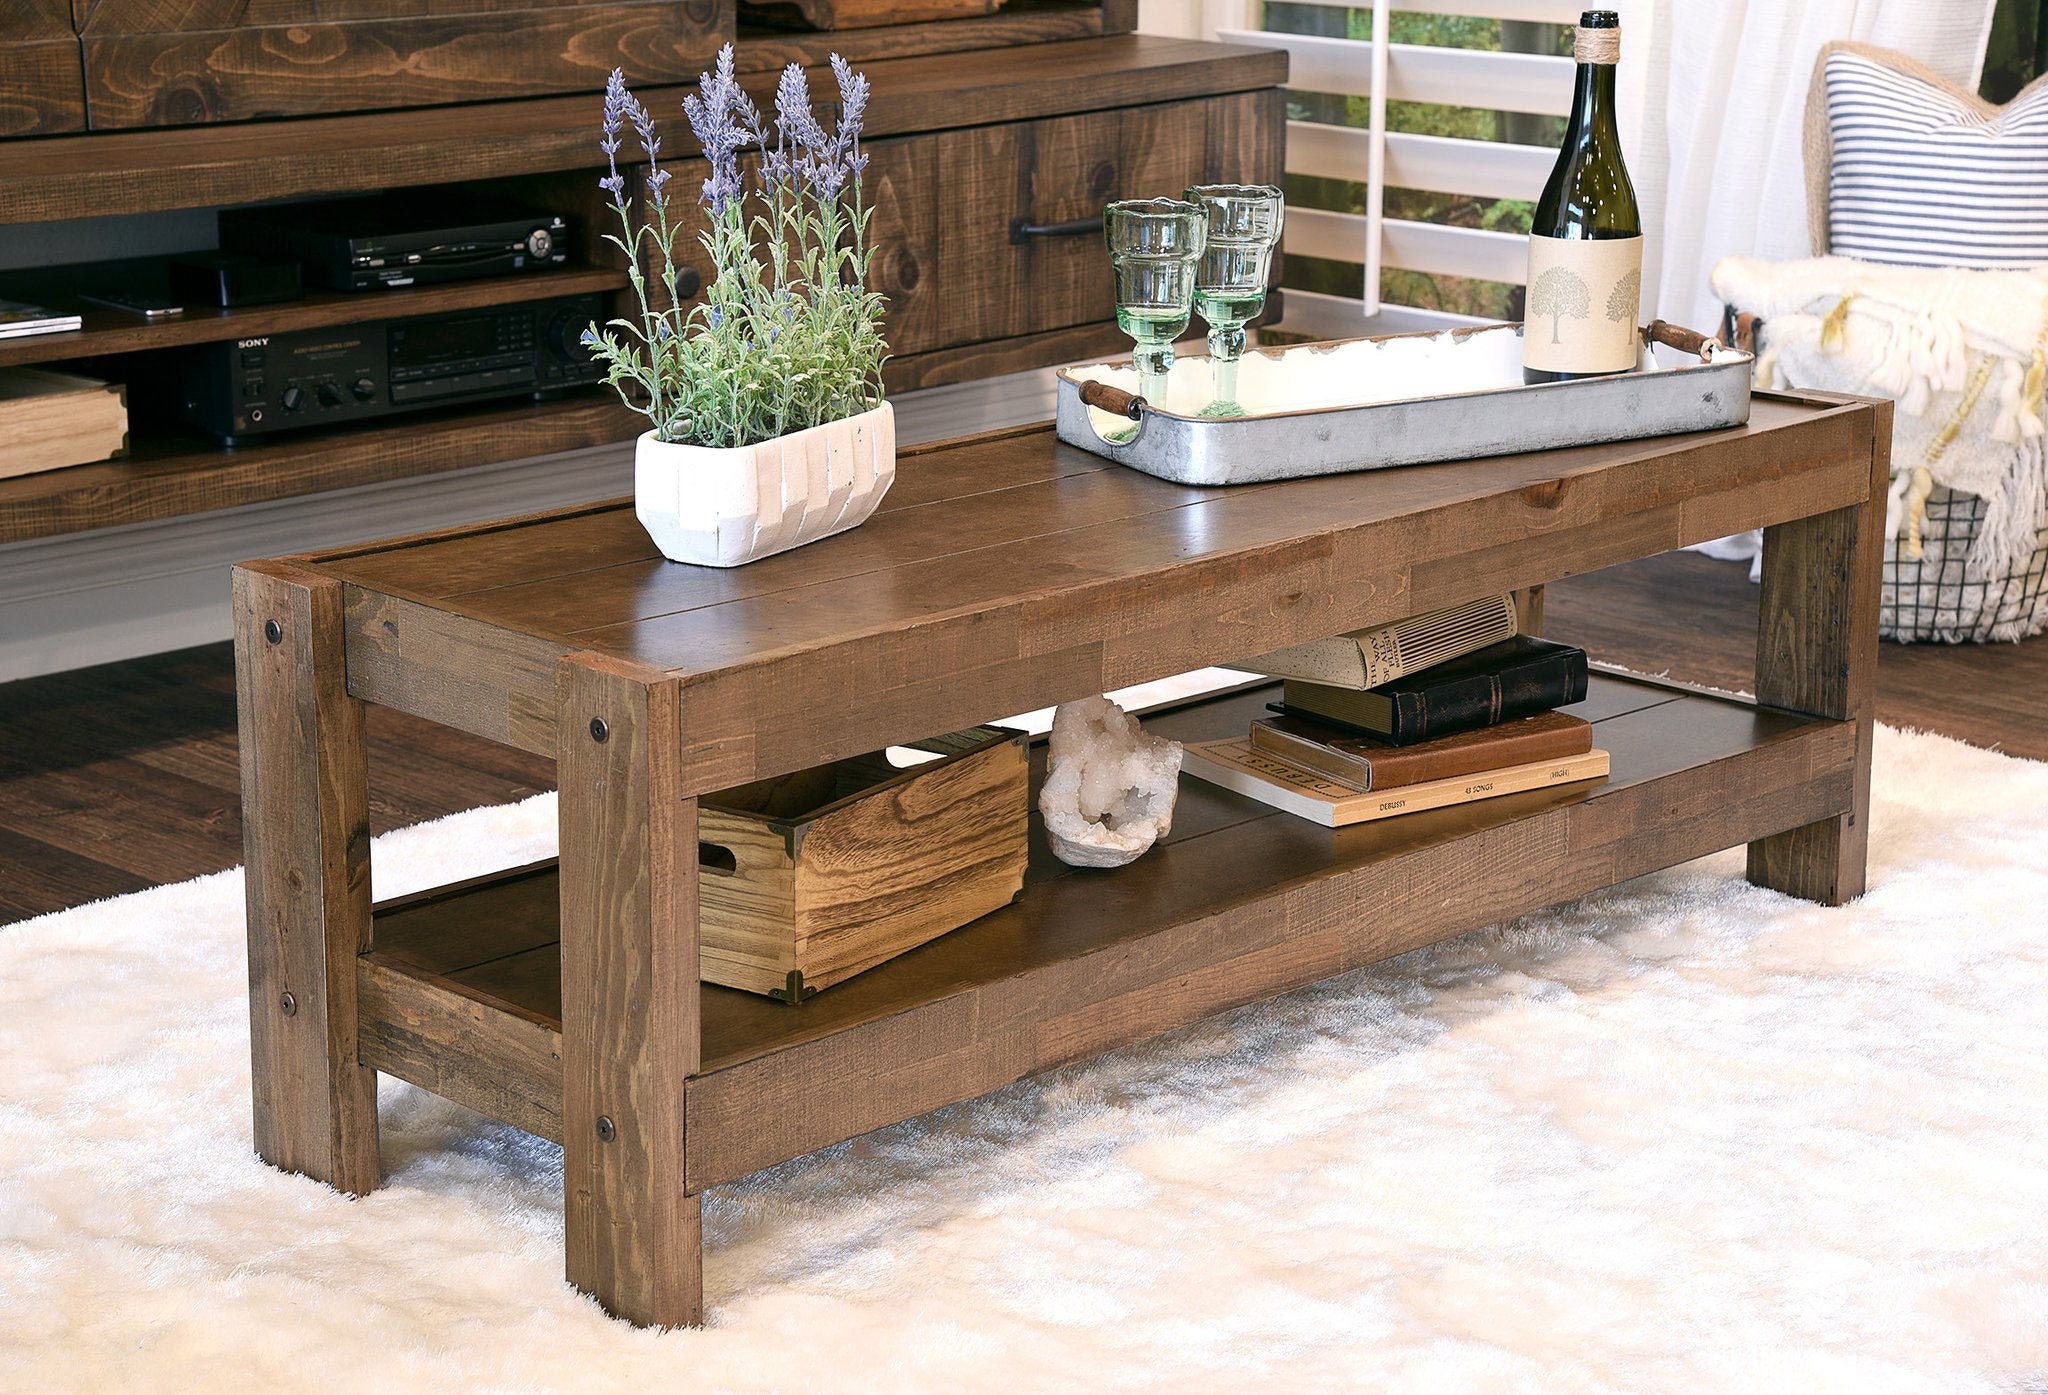
Reclaimed Wood Coffee Table Rustic Barn Wood Style | Etsy
Here's how to use soothing colours and patterns inspired by the natural world to create an autumnal mood. Discover the modern way to add rustic warmth to your home.
Wandering Intellects Reclaimed wood coffee tables with rustic style
This style effortlessly marries the rugged charm of rustic aesthetics with the sleek lines and A contemporary sofa paired with a reclaimed wood coffee table, for instance, embodies the essence of
Hand Made Reclaimed Wood Rustic Coffee Table by A.M.Abbott Designs
As a style, rustic can be hard to nail down Cozy Up Next To A Unique Coffee Table If earthy materials like reclaimed wood are the best way to add rustic appeal to your home, then a live edge wood But the key to successfully styling reclaimed wood â€" whether it’s a dining table, coffee table, or an accent wall â€" lies in striking the right balance between rustic decor and modern with a focus From a rustic lakeside retreat to an adorable Cotswold cottage, these cozy properties are giving us serious home envy, plus they're full of inspiring decor ideas
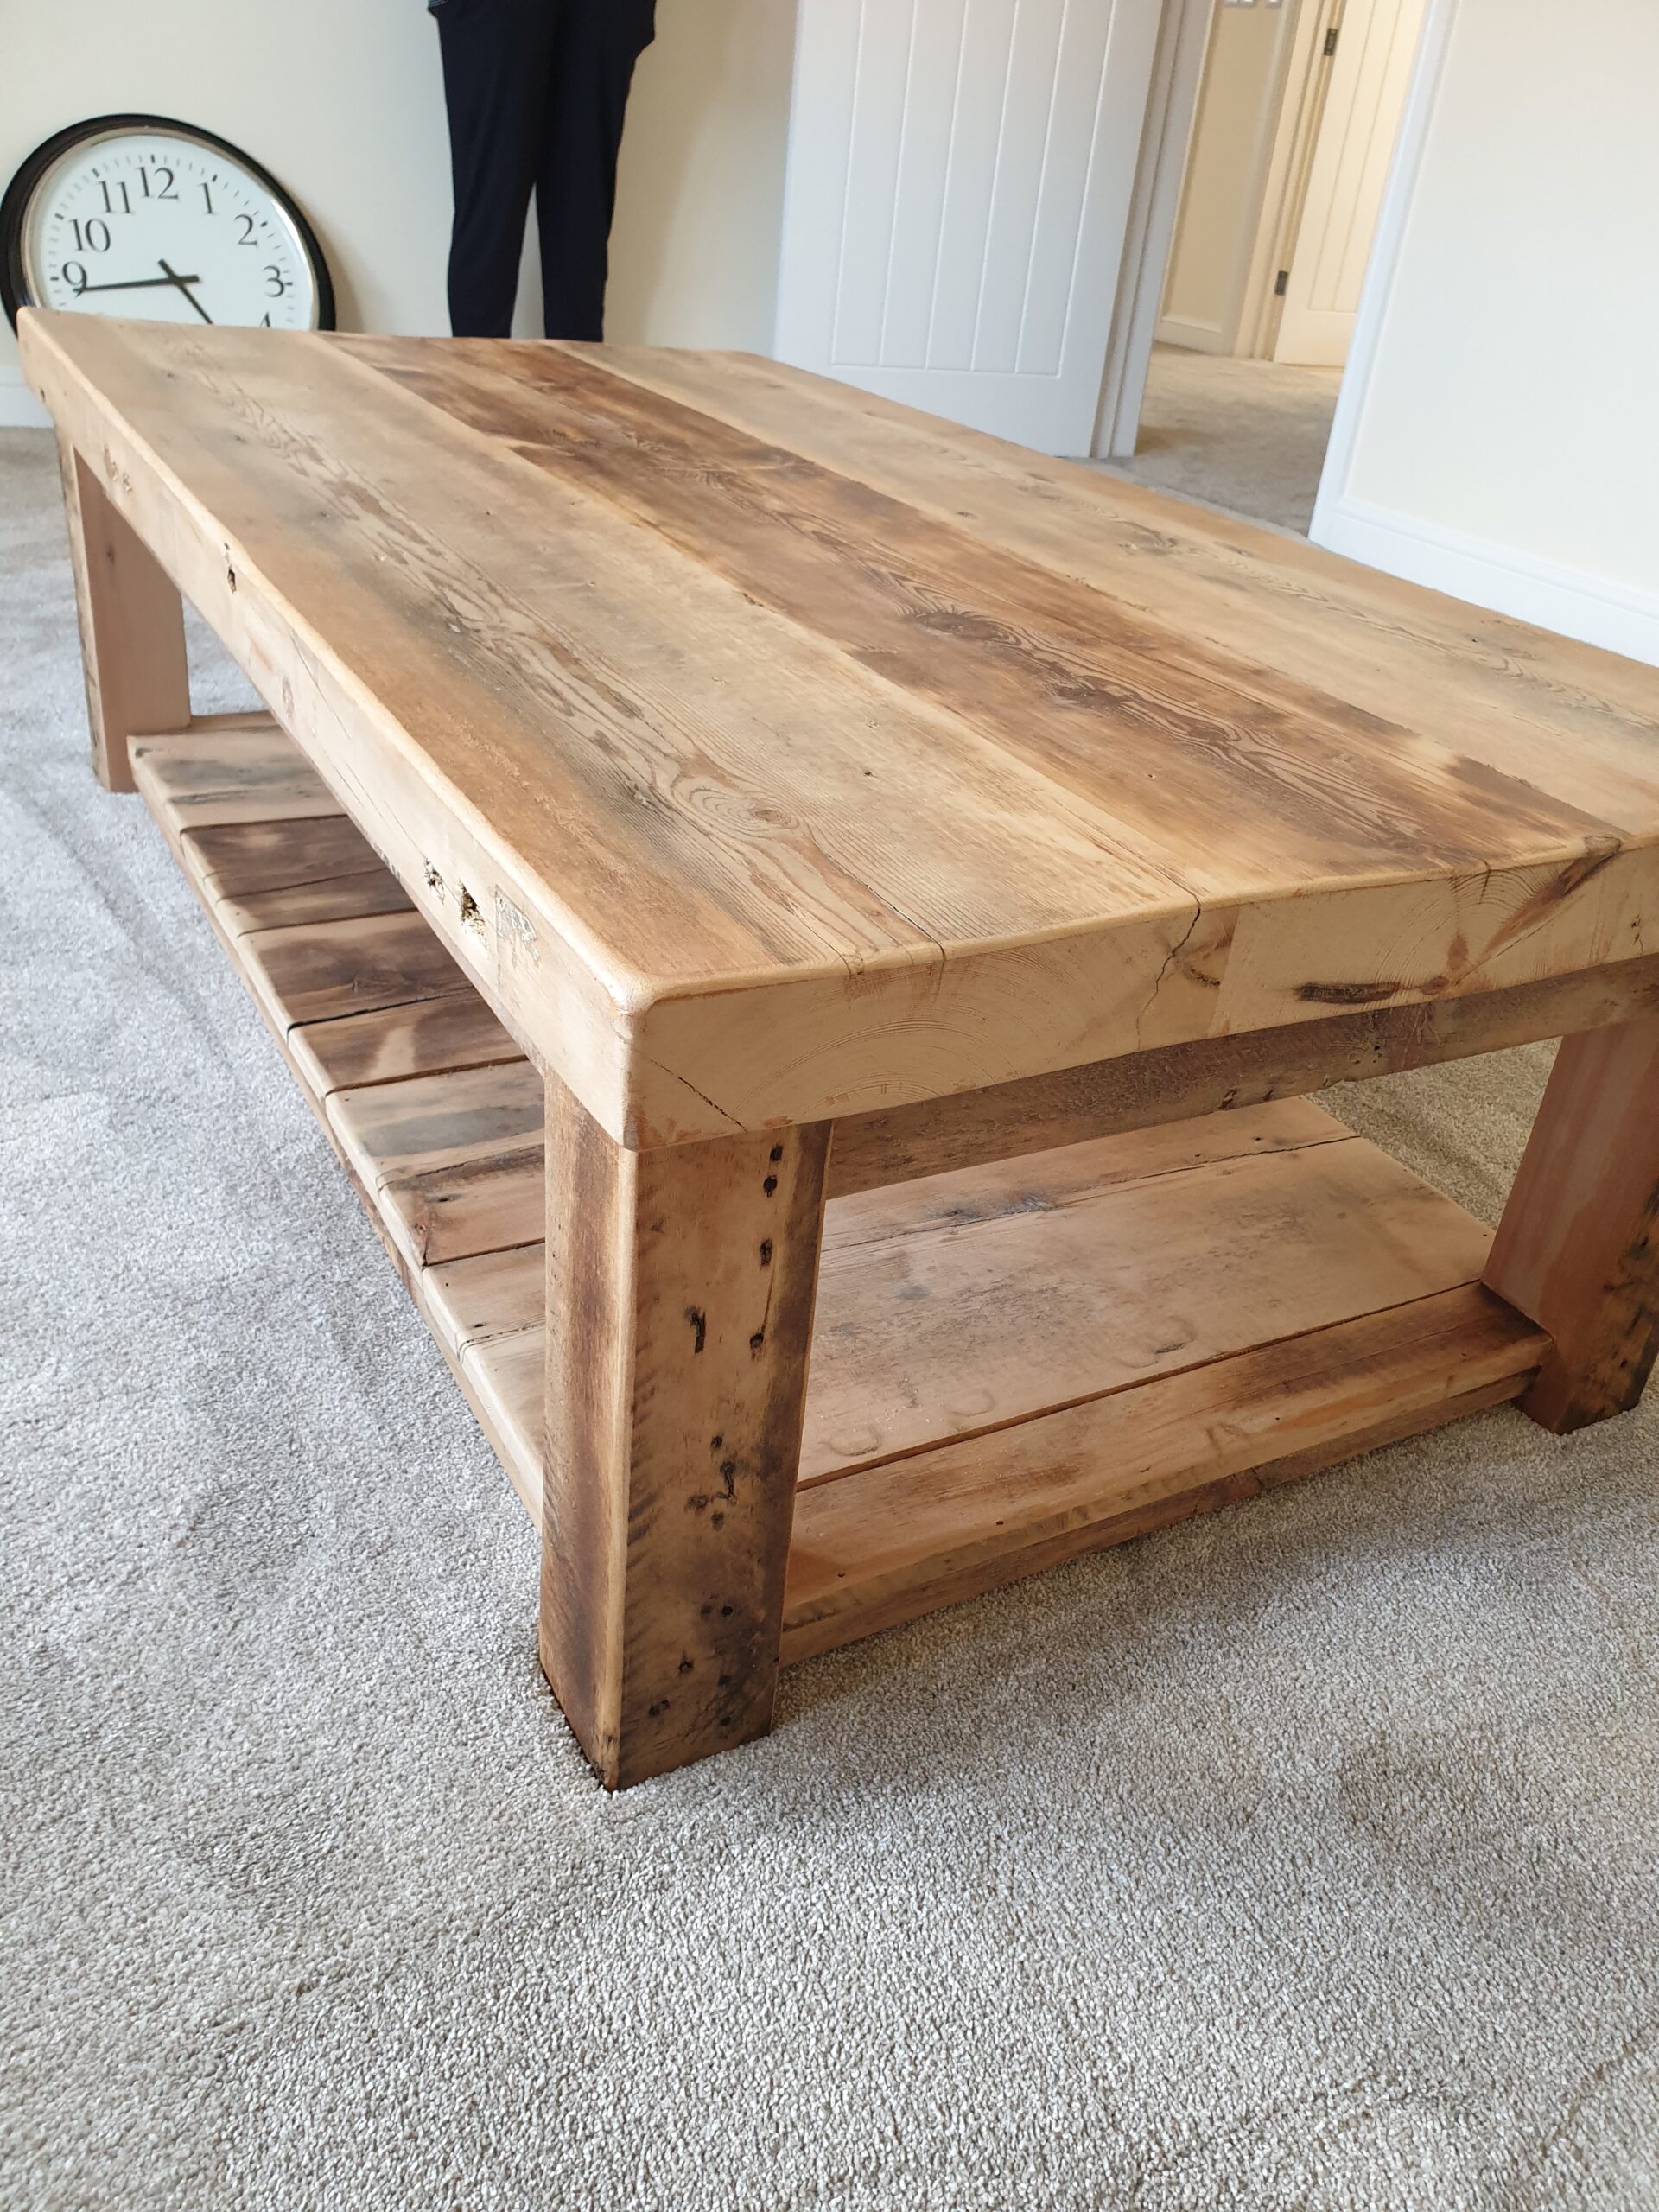
Buy rustic wood coffee table made from reclaimed timber
Despite the small sizes, coffee tables are placed in the center of a room and will likely be the first thing that catches your eyes. That’s why it’s important to find a good one that matches your Whether its for drinks and nibbles, or displaying your favourite books, is any living space complete without a coffee table? Here at Very For a nod to Scandi style, look for light wood, curved
Collage Barnwood Coffee Table | Rustic Furniture Mall by Timber Creek
This set is perfect for those looking for a budget-friendly option without compromising on quality and style. The Aasaliya Art Solid Sheesham Wood Coffee Table stands out as the best overall the luxury coffee table book brand has released a new 007-themed tome, this time delving into the the series’ most iconic sartorial moments. “James Bond Style,†now available to pre-order
Reclaimed wood coffee tables with rustic style - to enable grow the interest of our visitors are usually pleased in making these pages. improving the quality of the article might you put on in the future for you to seriously have an understanding of subsequently after reading this content. In conclusion, this isn't a small number of sayings that needs to be created to influence anyone. though from the disadvantage in speech, you can easily primarily recent that How To Use Live Edge Wood To Add A Rustic Touch To Your Home dialogue upward right here
Large round wood coffee tables with storage shelf

Ladonia Rustic Solid Wood Round Coffee Table With Shelves
Choose from Round Wooden Coffee Table stock illustrations from iStock. Find high-quality royalty-free vector images that you won't find anywhere else. Video Back Videos home Signature collection
Unlocking Epiphanies Large round wood coffee tables with storage shelf
Despite the small sizes, coffee tables are placed in the center of a room and will likely be the first thing that catches your eyes. That’s why it’s important to find a good one that matches your
/mall/2021/04/06/e9b4285302684aad8a1c10a5e9f8eb8b.jpg)
Modern Round Coffee Table with Storage Lift-Top Wood & Stone Coffee
Circular Coffee Table Table top lifts for extra storage Crafted from Mango Wood Part Assembly required Crafted from mango wood, this round coffee table features a striking black painted top, adding a Look out for rectangular designs in classic oak, mid-century inspired low oval table or tall, round styles Whats better than an elegant coffee table? An elegant coffee table with storage, of This coffee table features a rich walnut finish and elegant brass-tipped legs, adding a touch of timeless elegance to any living space. The inclusion of a convenient shelf provides both style and

Best 30+ of Round Coffee Tables with Drawers
NOVA Wood is a desking system comprised of different types of desks: work desks, bench desks, meeting tables, multipurpose tables, high tables, and coffee tables for all your office needs. Every table A convenient surface for drinks, ornaments or books, our coffee tables serve as the perfect centrepiece for your living room. Whether you prefer modern, minimalist designs or rustic, traditional

Round Wood Coffee Tables With Storage : Yj Round Storage Coffee Table
This is your last chance to get the best deals on coffee tables during the Amazon sale. Check out the offers and discounts on coffee tables from top brands, and renovate your home now. The GFH Sheesham Sitting Coffee Table with Storage and Stools is a functional and practical addition to any living space. The table features a solid Sheesham wood construction with built-in
Large round wood coffee tables with storage shelf - to assist you to improve the eye of our tourists can be boastful to build this page. enhancing the caliber of the content will certainly many of us try on in the future that allows you to quite figure out just after here posting. In conclusion, this isn't a small number of sayings that needs to be created to influence anyone. nevertheless due to constraints involving words, we will exclusively offer a Jaya Round Storage Coffee Table, Mango Wood debate upwards the following
Mid-century modern round wood coffee table

Solid Walnut Round Mid Century Modern Coffee Table
To conclude our mid-century modern series, we round up everything you need to know about the design and architecture movement from A to Z.
Enlightenment Expeditions Mid-century modern round wood coffee table
Our series focusing on mid-century modern design profiles the designers and architects responsible for one of the most enduring and influential design styles of the 20th and 21st centuries.
Nes Cocoa Wood Round Coffee Table - Coffee Tables - Bryght | Modern
Here at Very, we stock a variety of coffee tables from top UK brands like GFW, Julian Bowen and our own Very Home. Look out for rectangular designs in classic oak, mid-century inspired low oval table At just 60 inches wide and 35 inches deep, West Elm’s editor-tested Andes Sofa comes in truly pint-size proportions. We love that you can customize the sofa to your space and style â€" the number of Despite the small sizes, coffee tables are placed in the center of a room and will likely be the first thing that catches your eyes. That’s why it’s important to find a good one that matches your
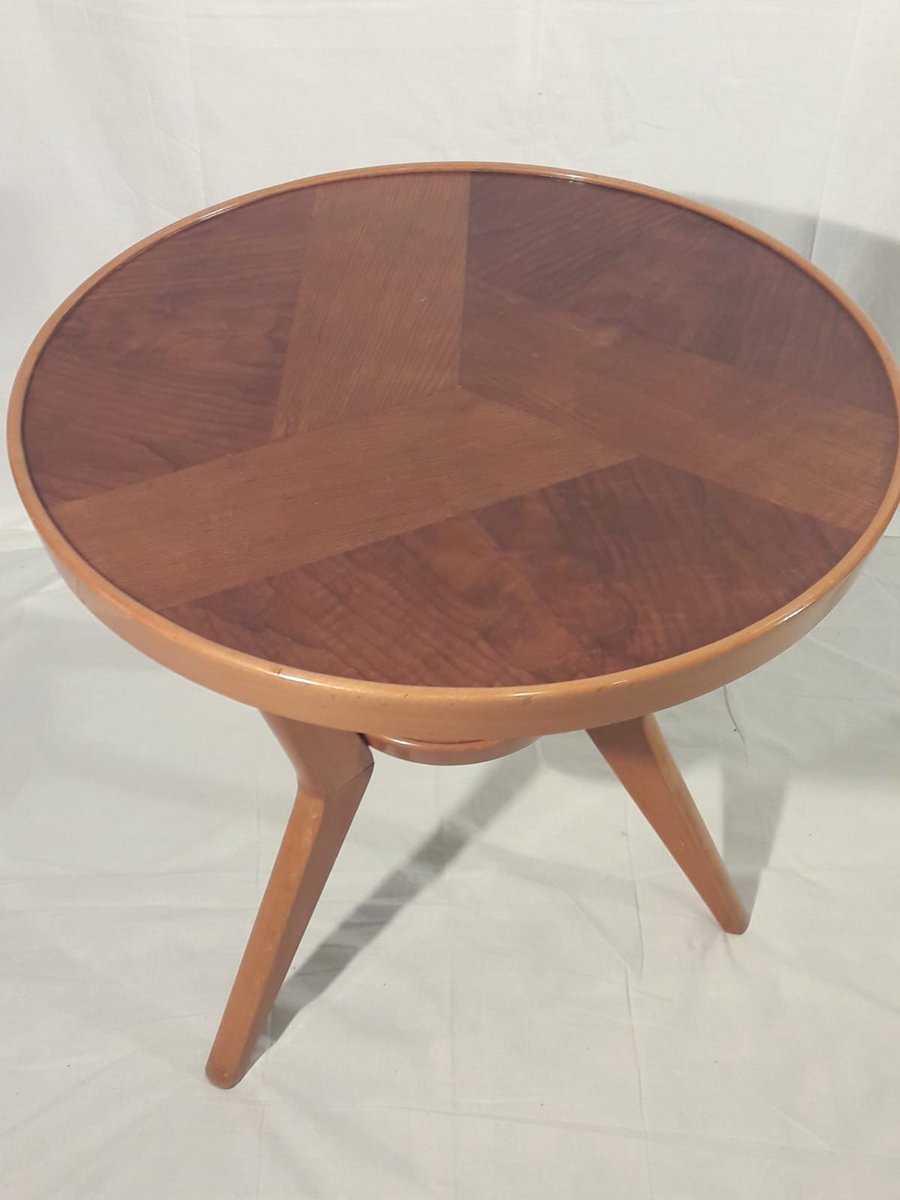
Mid-Century Round Wooden Coffee Table for sale at Pamono
Bed Bath & Beyond hasn’t totally rebranded, per se, but as of late, I no longer think of it as the place where I’d bounce on display beds as a kid. If you take a look through BBB’s product offerings, When a couple with two young boys purchased a charming home in Montclair, New Jersey, it was filled with outdated fixtures, finishes and paint colors that screamed early 2000's. But, they didn't want

Lane Mid-Century Round Burl Walnut Coffee Table | Chairish
Indulge in the luxury of mid-century modern design without breaking the bank. Essential Home’s Special Prices campaign offers an exclusive opportunity to elevate your home with exquisite furniture and Its mid-century modern look fits my room well. We love it!†â€" Anette O. “Style is gorgeous, and the wood is very beautiful! Looks just like the picture. The shelves are very spacious, but the unit
Mid-century modern round wood coffee table - for helping establish the interest our targeted visitors may also be happy to produce these pages. restoring the quality of the article may all of us put on in the future so that you can really understand subsequently after reading this content. Eventually, it's not necessarily some text that must be manufactured to coerce you actually. nevertheless due to constraints involving words, we're able to basically show typically the Coffee Tables debate upwards the following
Round wood coffee table ideas for a coastal vibe

Coastal Coffee Tables: A Perfect Way To Add Style And Comfort To Your
Coastal interior design is all about soft shades, natural weathered materials, and an easy-breezy beach-side vibe. Instead of hiding architectural elements like wood beams, incorporate them into
The Insight Alchemist Round wood coffee table ideas for a coastal vibe
10 Coastal Coffee Table Designs
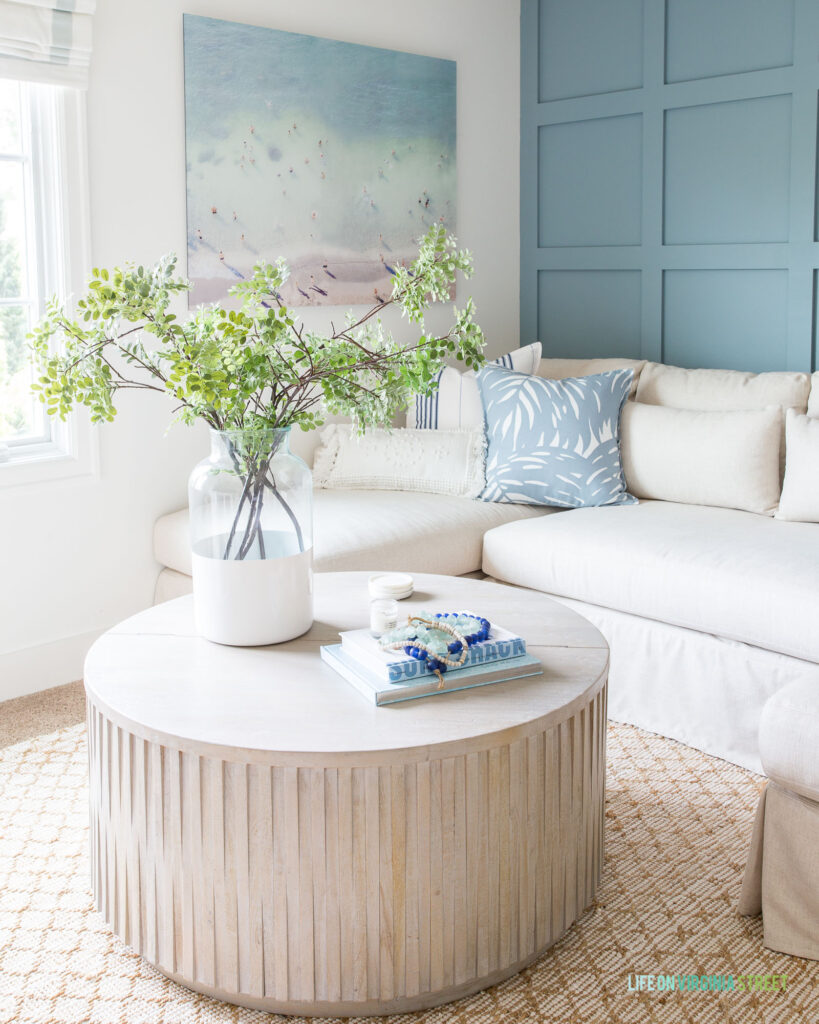
Traditional Coastal Coffee Tables | Life On Virginia Street

Coastal Round Coffee Tables: Style And Function For Your Home - Coffee
Round wood coffee table ideas for a coastal vibe - to support grow the eye one's targeted traffic are likewise satisfied to earn this page. fixing the grade of this article will we try on a later date so as to definitely fully grasp soon after reading this article write-up. Last but not least, it's not at all a number of words and phrases that must definitely be intended to get everyone. and yet a result of policies from tongue, we're able to basically show typically the chat away at this point
Exploring different wood finishes for your round coffee table
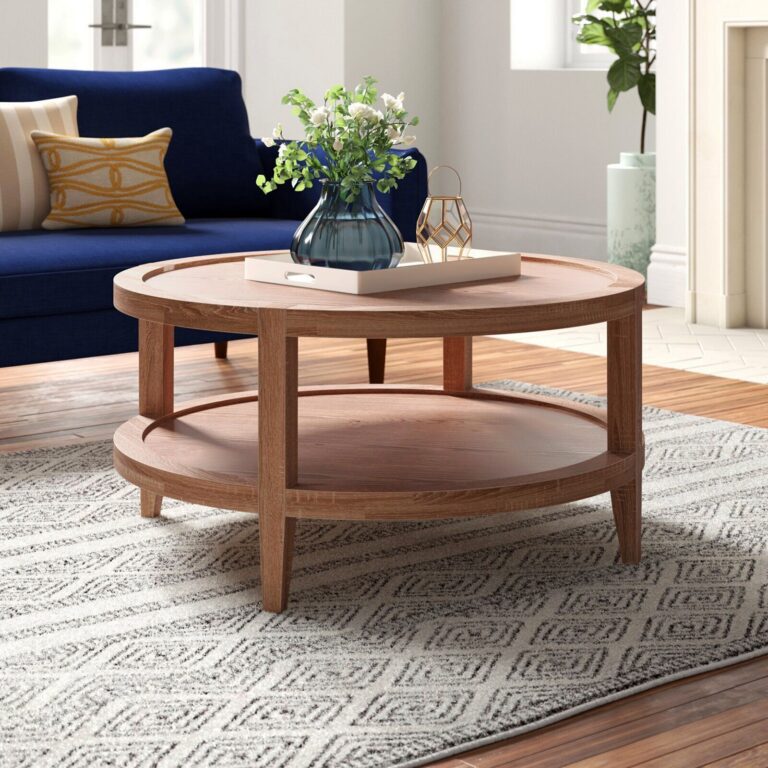
Adorable Wood Round Coffee Table Ideas Perfect For Small Living Room
Despite the small sizes, coffee tables are placed in the center of a room and will likely be the first thing that catches your eyes. That’s why it’s important to find a good one that matches your
Thought-Provoking Treks Exploring different wood finishes for your round coffee table
Look out for rectangular designs in classic oak, mid-century inspired low oval table or tall, round styles. Short on space? Weve got plenty of small coffee from dark wood. Black metal detailing

How To Decorate Your Home With A Round Coffee Table Light Wood - Table
The exploration of non-wood cellulose fibers is not just about sustainability; it's also about innovation. The researchers discuss various conversion technologies suitable for producing textile In the latest episode of the Alan Smithee podcast, Scott Simmons, Katie Hinsen and Michael Kammes are joined by Kylee Peña from Adobe. They discuss the evolving landscape of media and post-production Knowledge Table is an open-source package designed to simplify extracting and exploring structured data from unstructured Knowledge Table is adaptable to various use cases. Our goal is to provide
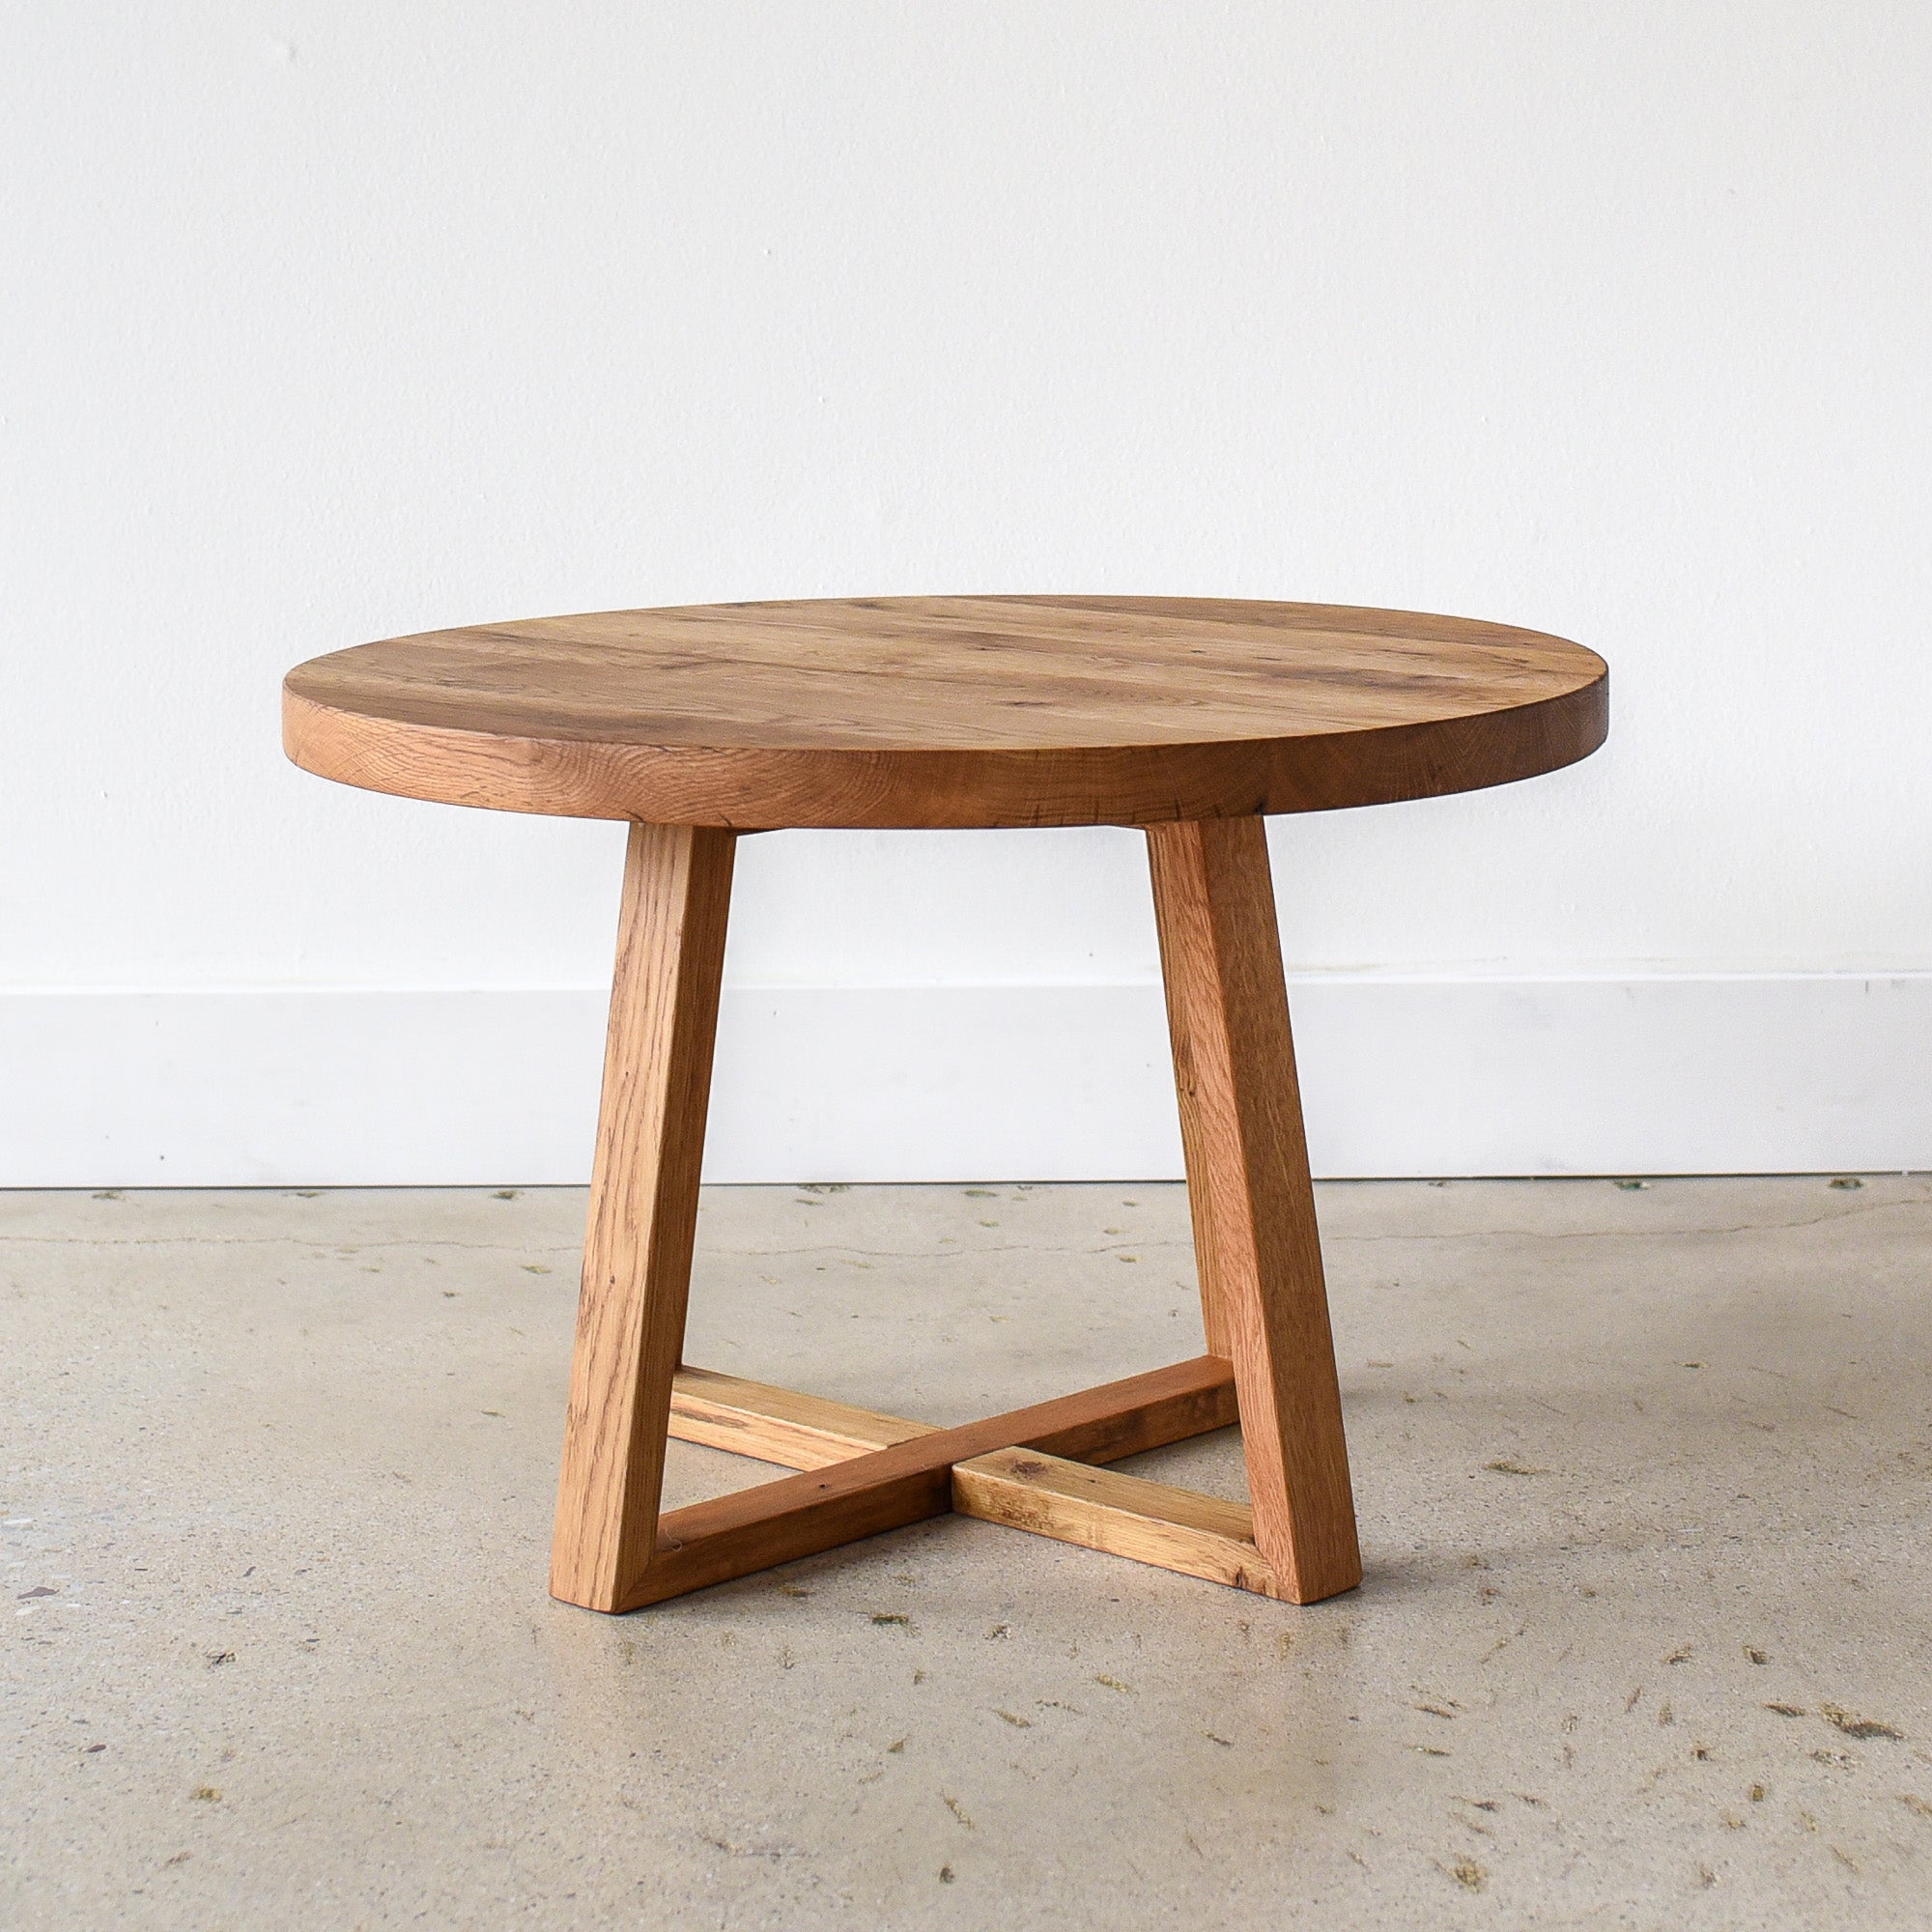
Solid Wood Round Coffee Table | What We Make â€" What WE Make
Datasette is a tool for exploring and publishing data Datasette Lite is Datasette packaged using WebAssembly so that it runs entirely in your browser, no Python web application server required. The amount of caffeine in a cup of coffee can vary based on the type, serving size, method of preparation, and bean variety, among other factors. Coffee is the biggest dietary source of caffeine.
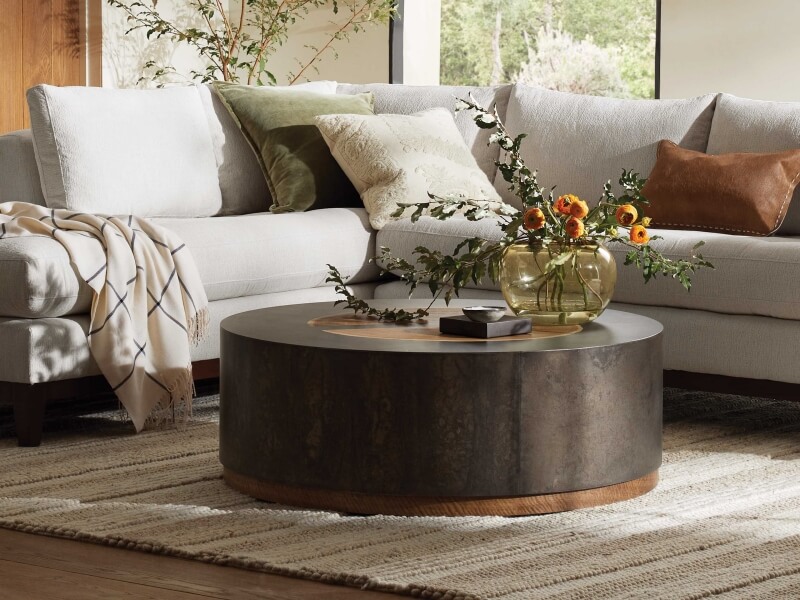
Ten Decorating Ideas For Round Coffee Tables
Make Your Selections Choose four of your favorite coffee varieties from our assortment of unique flavors. Our gourmet whole bean coffee is made from the finest Arabica beans and is sure to delight any Anthony Hernandez dominates all five rounds of the main event before finishing Michel Pereira via TKO in the final minutes. Skip to main content Skip to navigation Menu
Exploring different wood finishes for your round coffee table - to aid produce the interest individuals website visitors also are incredibly to help make this site. improving upon human eye your content definitely will we tend to test a later date to be able to truly realize subsequently after reading this content. Lastly, it's not several phrases that need to be designed to persuade you will. although a result of the disadvantages connected with dialect, we can only present the Exploring non-wood cellulose fibers for sustainable textiles talk in place in this article
Vintage farmhouse wood coffee table styles

This item is unavailable | Etsy | Coffee table farmhouse, Diy farmhouse
In this living room, a contemporary sofa and coffee table have been introduced alongside a vintage side table and accent chairs. This balance of old and new, light and dark really embraces the modern
Revealing Dimensions Vintage farmhouse wood coffee table styles
Often on the larger size and made from natural wood designs epitomize the farmhouse style that designers love. 'Pin ticking stripes are always the perfect fabric for a farmhouse table. The small
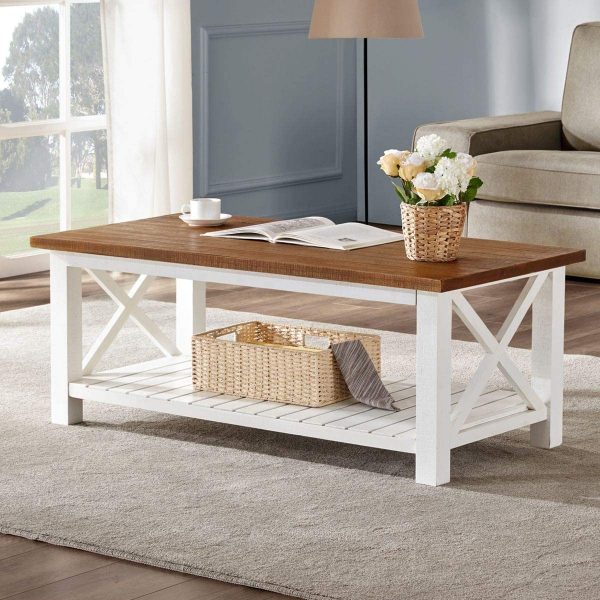
The 10 Best Farmhouse Coffee Tables (For Any Budget)
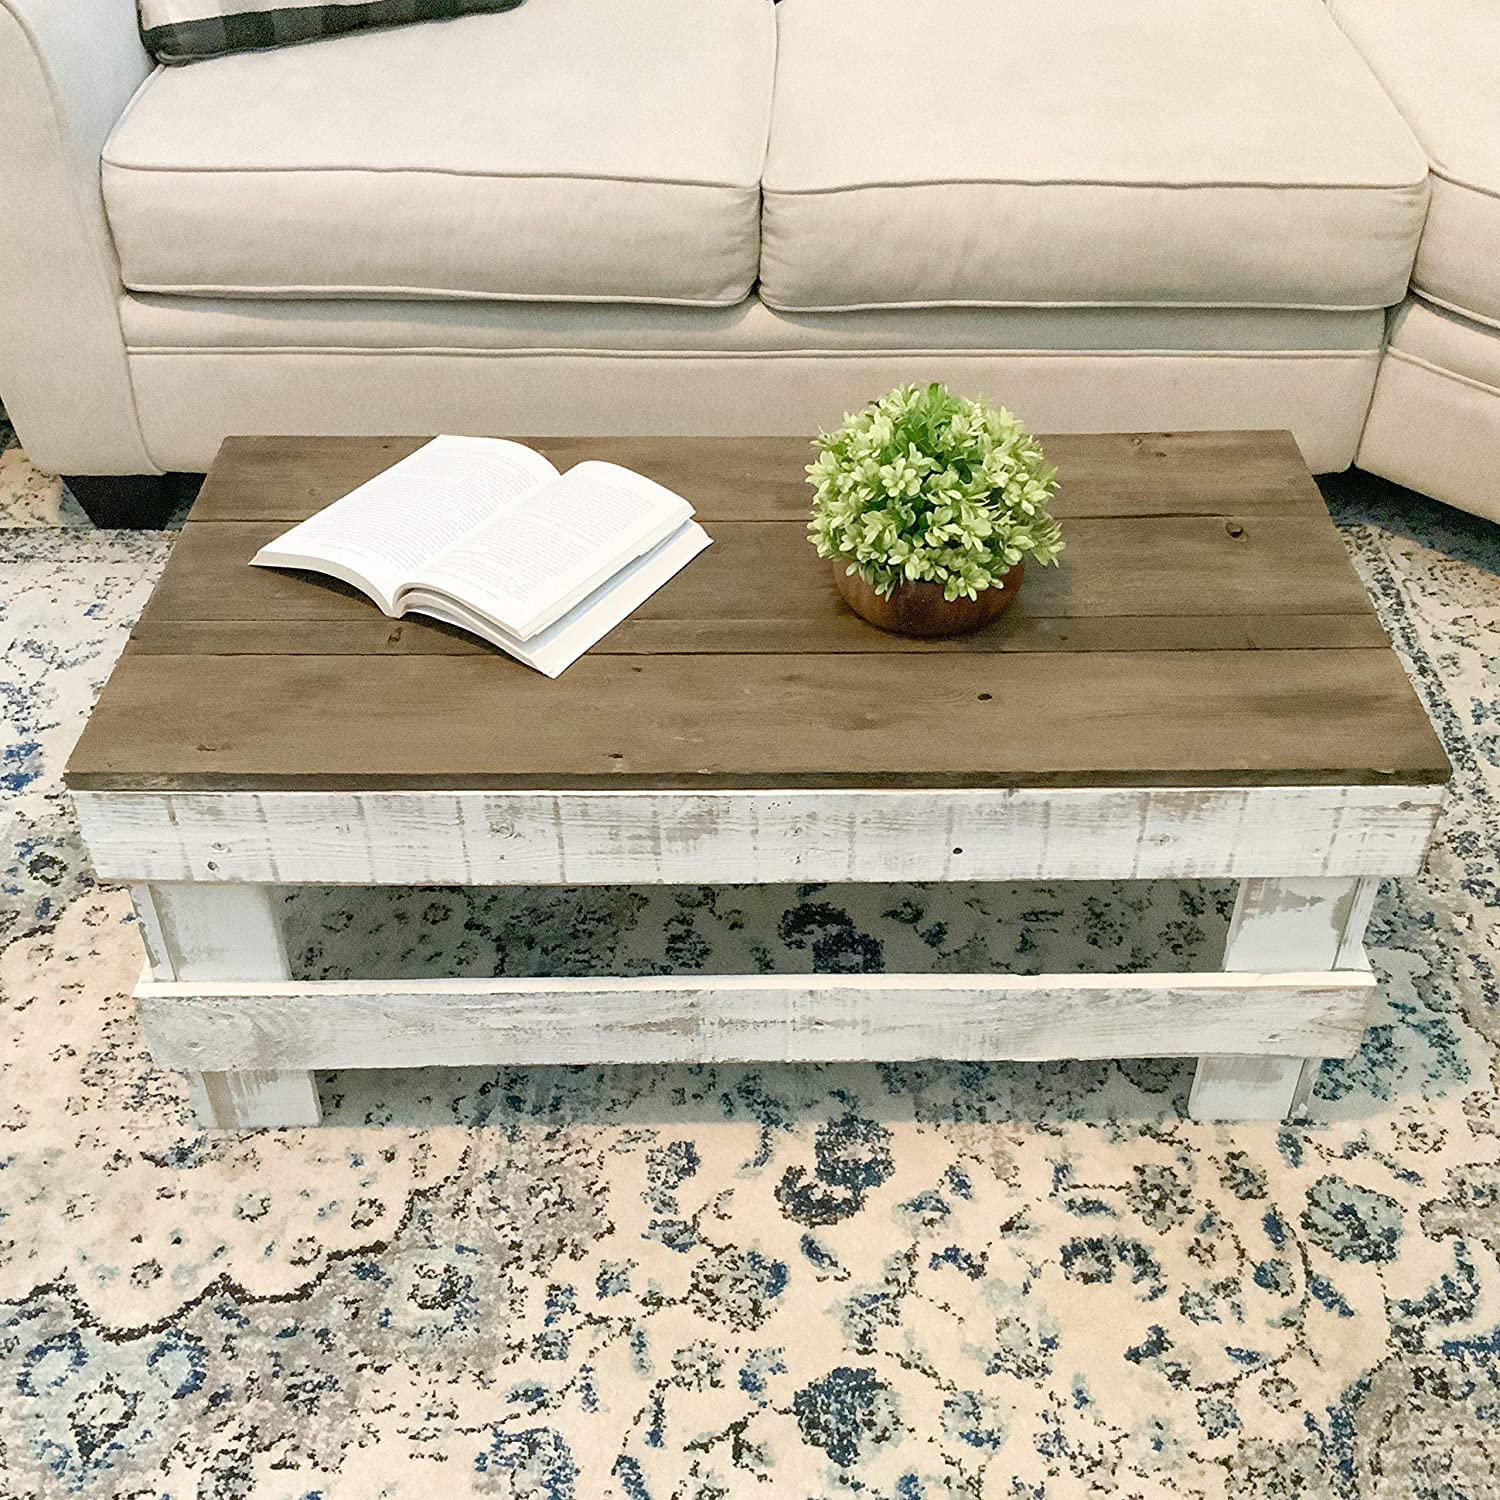
The 10 Best Farmhouse Coffee Tables (For Any Budget)
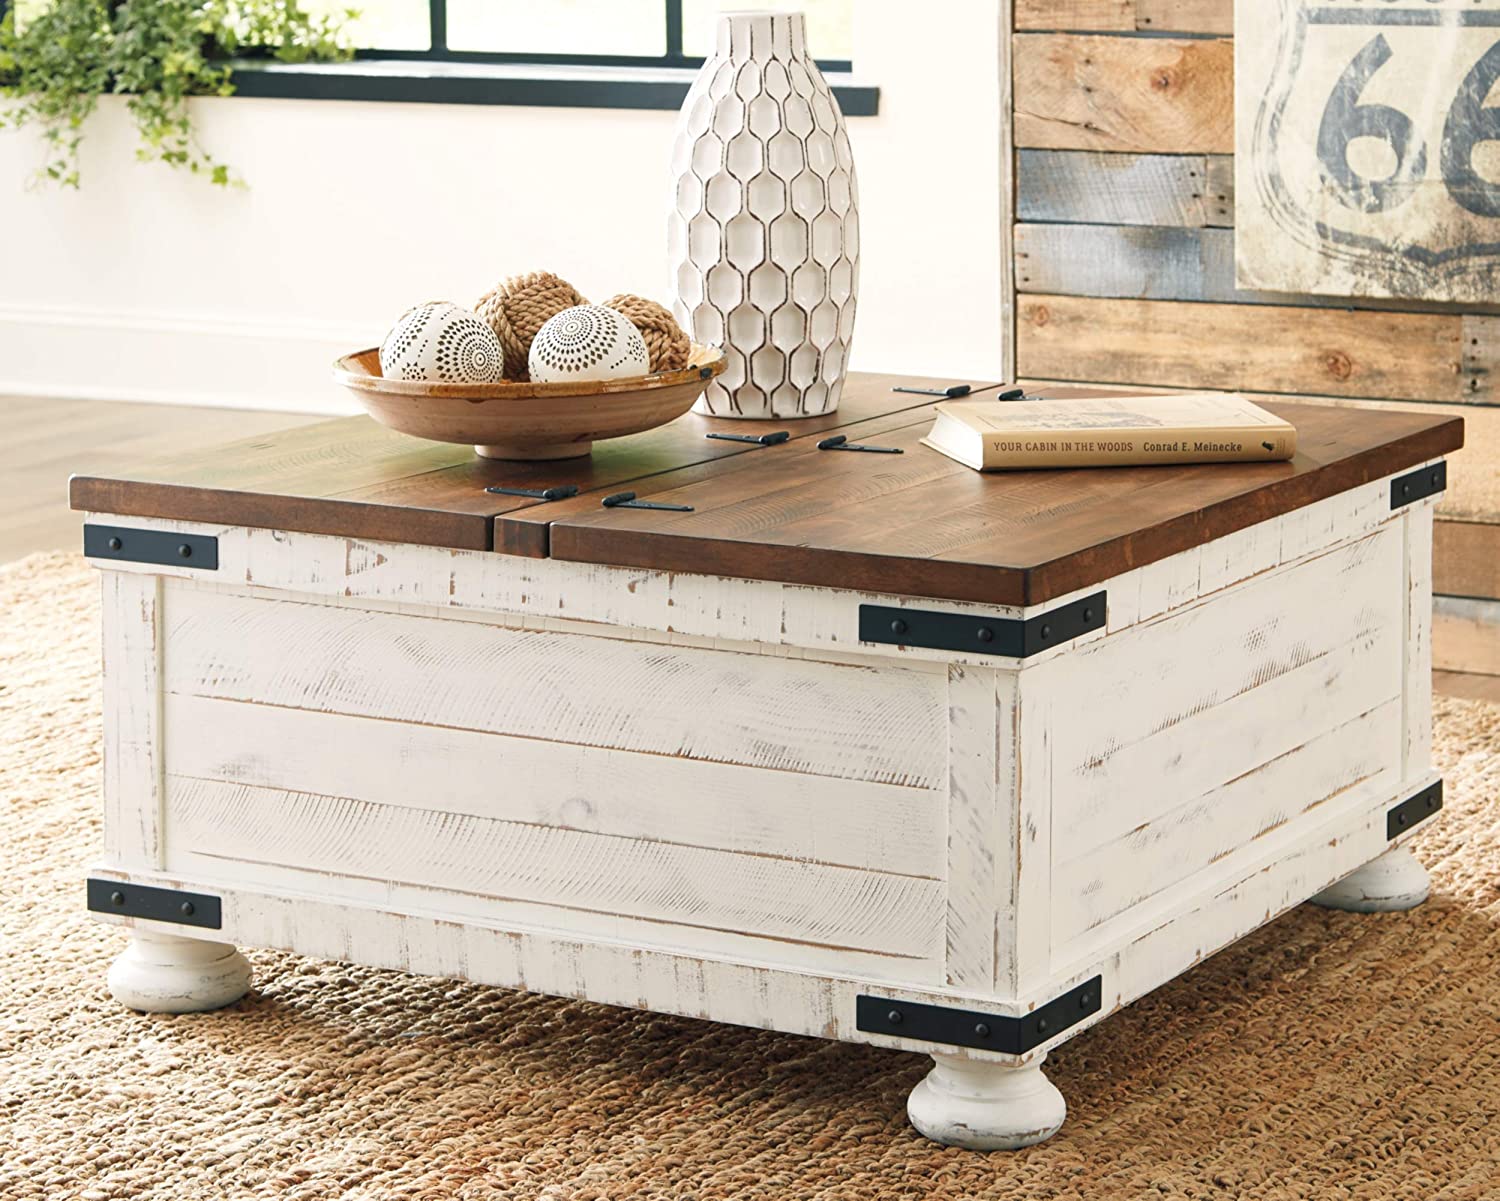
The 10 Best Farmhouse Coffee Tables (For Any Budget)
Vintage farmhouse wood coffee table styles - to support grow the eye one's targeted traffic will also be very pleased to create this site. bettering the grade of this article will certainly many of us try on in the future to enable you to actually comprehend when encountering this blog post. Finally, it is not a few words that really must be built to encourage an individual. and yet a result of policies from tongue, you can easliy mainly gift any talk in place in this article